Enviroment setup prerequiste
Introduction
This page walks you through a hands-on, GUI-style installation of Node.js on Windows — the kind of instructions that say “click Yes”, “choose folder”, and “Next → Next → Install”. It assumes you want the LTS (Long Term Support) build for stability. Each step includes an image placeholder so you can drop in screenshots later.
Note: If you use macOS or Linux, see the short notes at the end of this page (they’re quick CLI/pkging notes). This page focuses on the Windows installer UX.
Before you start
- Download the LTS version from https://nodejs.org — LTS is recommended for most projects.
- Choose 64-bit unless you have a specific reason to use 32-bit.
- You will need administrator privileges to install to the default Program Files folder.
- Close terminal windows after installation so the new PATH is picked up.
Step-by-step (Windows MSI installer)
1. Download Node.js (LTS)
- Open your browser and go to:
https://nodejs.org/ - Click the button (Windows Installer
.msi).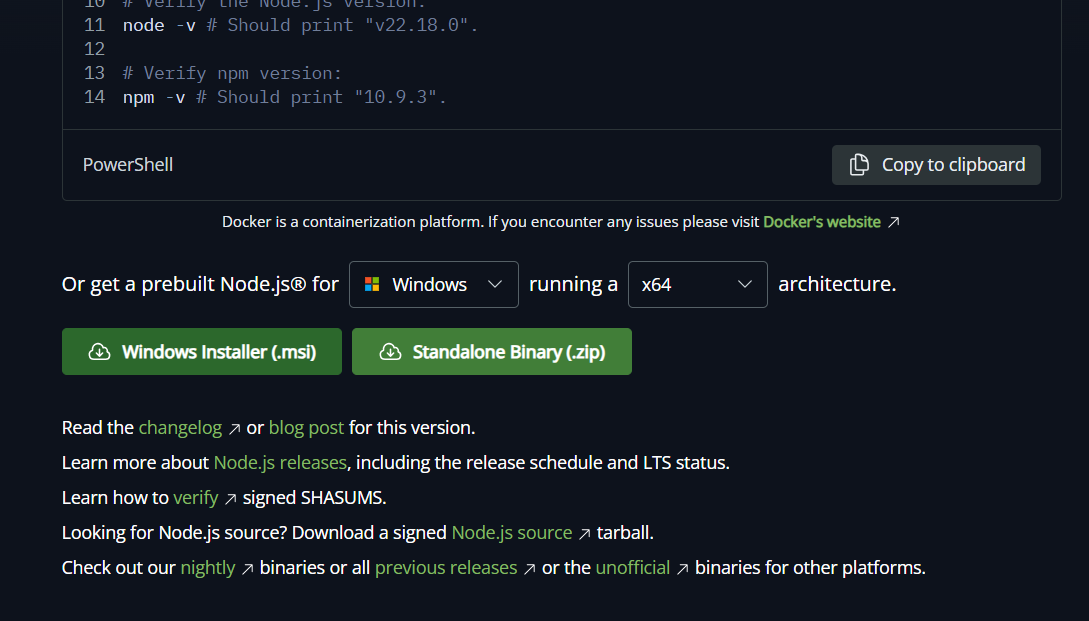
2. Run the installer
- Double-click the downloaded
.msifile (usually in yourDownloadsfolder).
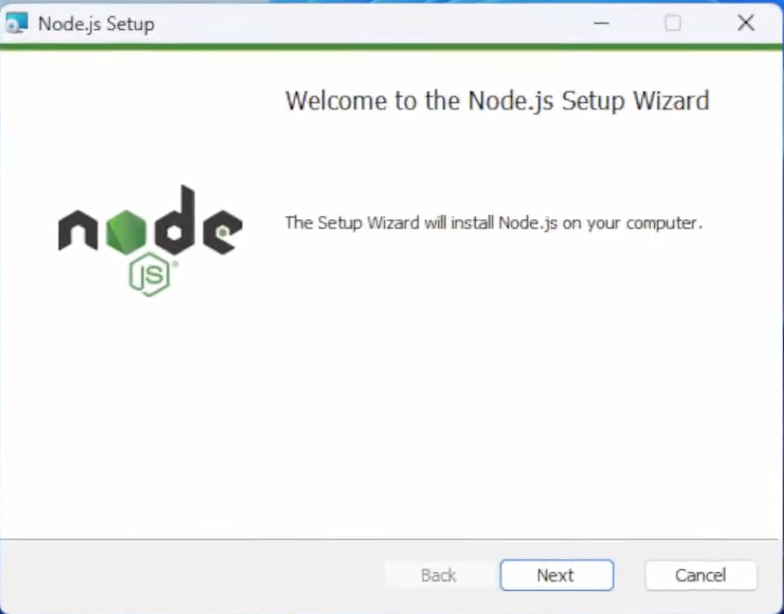
3. Welcome screen
- The installer shows a welcome panel. Click Next to continue.
4. License agreement
- Read (or skim) the license.
- Select I accept the terms in the License Agreement and click Next.
Image placeholder: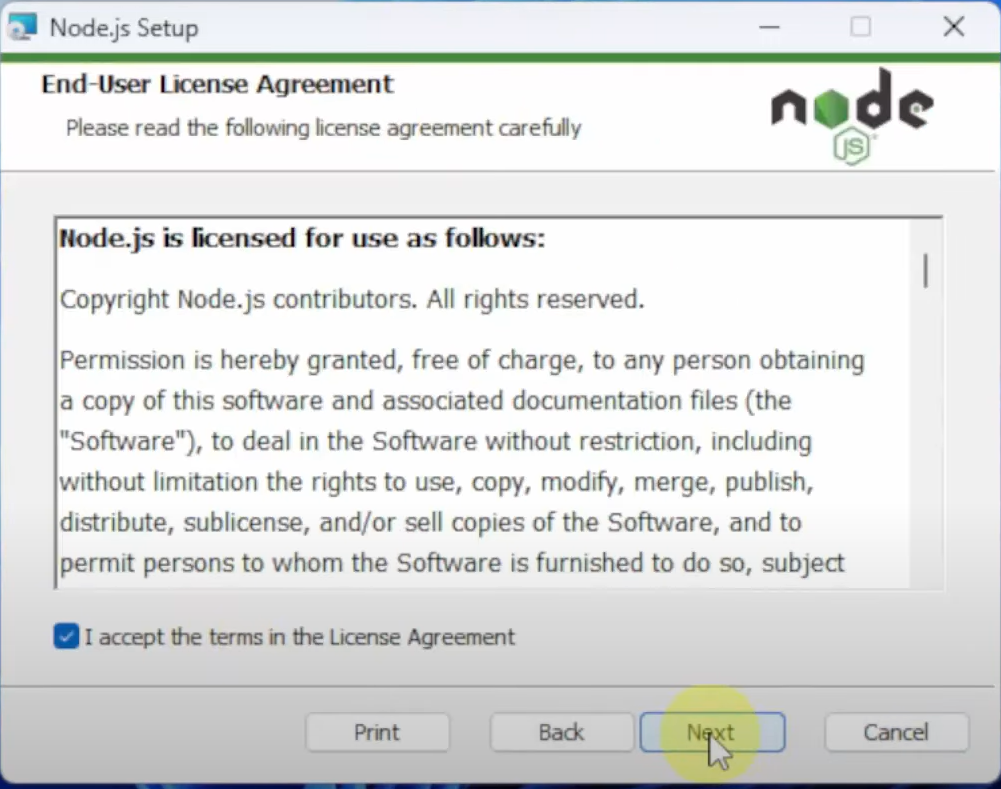
5. Choose destination folder
- The installer suggests a default folder (e.g.
C:\Program Files\nodejs\). - If you want a custom location click Change… and pick a folder; otherwise accept the default and click Next.
Tip: Install to Program Files unless you have a good reason not to.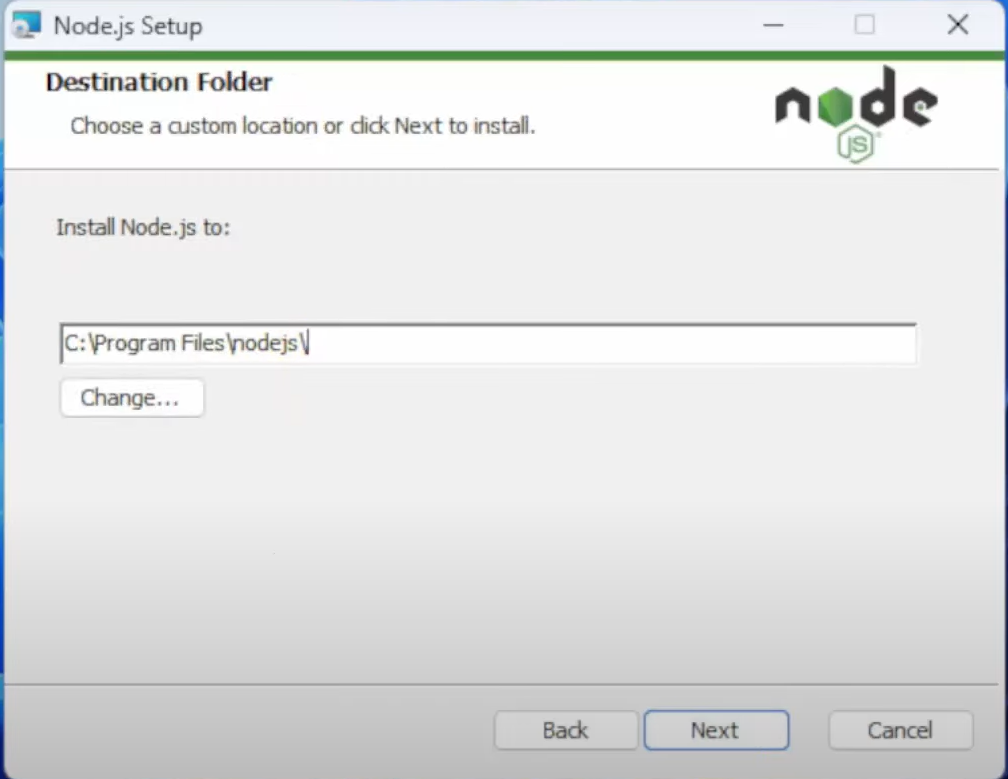
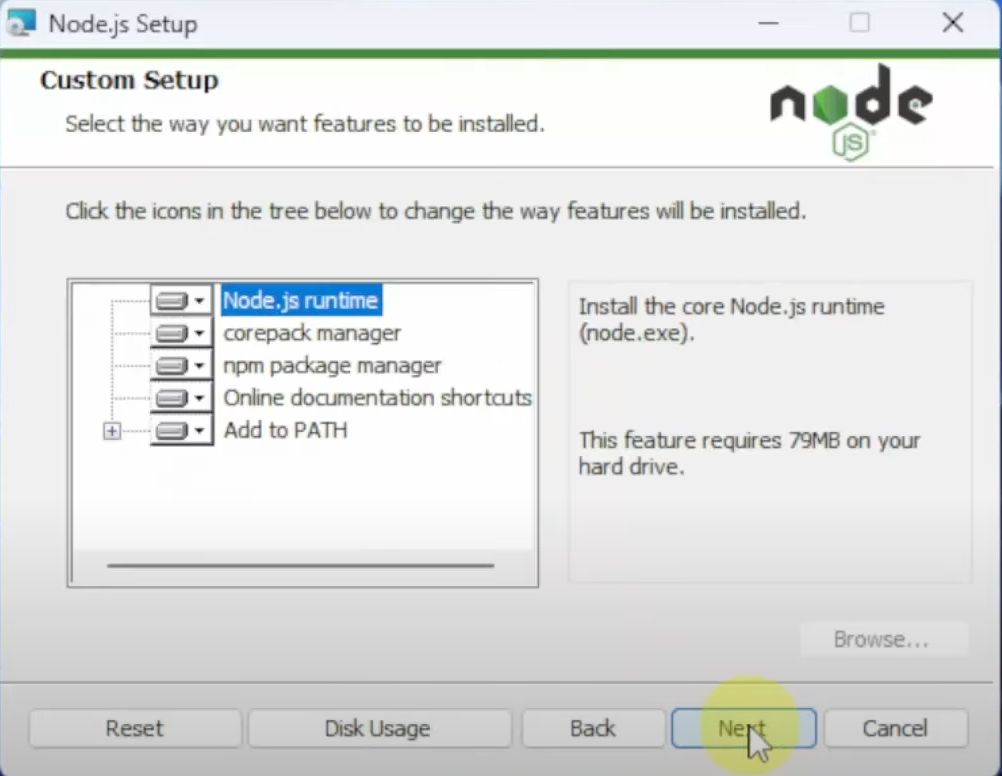
6. Custom setup / Components
- Keep Node.js runtime and npm package manager selected (they are by default).
- Ensure the option to Add to PATH is enabled (usually automatic).
- Optionally enable any extras like documentation or context menu entries.
- Click Next.
7. Install
- Click Install to begin.
- Wait while files are copied. If UAC prompts again, click Yes.
8. Finish
- When the installer completes, click Finish.
- Optionally check any post-install toolboxes the installer offers (for example “Automatically install required tools” — optional).
Image placeholder: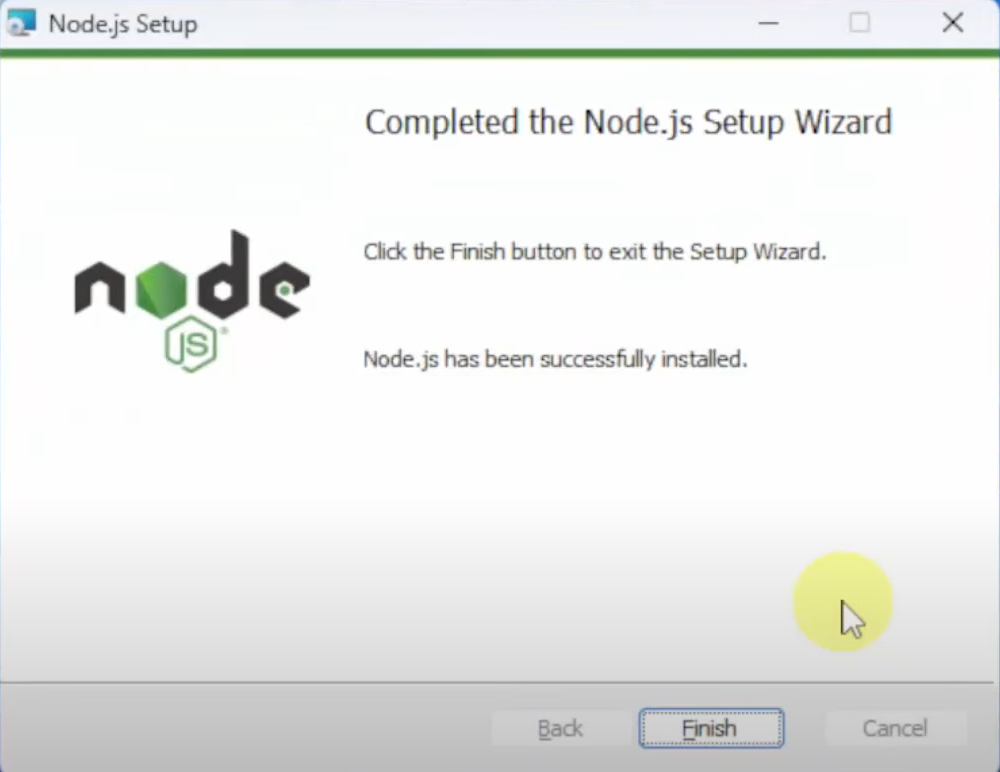
9. Verify installation
- Open Command Prompt or PowerShell (open a new window).
- Run:
node -v
npm -v