Set up project and Amplify via CLI
Setting Up project and AWS Amplify with Face Liveness Detection
This guide walks you through setting up Amplify Auth and the FaceLivenessDetector component to perform AWS Rekognition Face Liveness checks in your React application.
Project clone and introduction
Step 1 — Clone the Rekognition Project
First, clone the repository from GitHub to your local machine:
git clone https://github.com/sang-ute/rekognition-project.git
Navigate into the project directory:
cd rekognition-project
Step 2 — Install Root Project Dependencies Install the dependencies for the root project using npm:
npm install
This sets up all the necessary dependencies listed in the root package.json.
Step 3 — Install Frontend Dependencies Switch to the frontend directory and install its dependencies:
cd frontend
npm install
This installs everything required for the frontend part of the project to run.
It’s best not to start project without having a look at the package.json, go ahead and see what’s in the tech stack of this project (really)
1. Install Amplify to project
The Amplify CLI is required to initialize and manage your Amplify backend.
Note: FaceLivenessDetector uses Amplify Auth by default to authorize users for the liveness check. If you’re new to Amplify, install the CLI first.
2. Initialize a New Amplify Project
Run:
amplify init
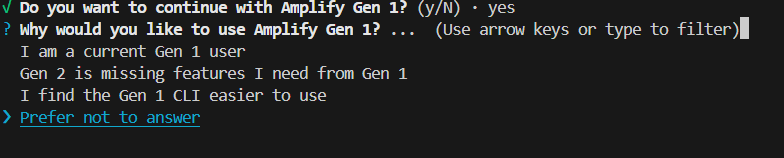
First, choose gen 1 since they’ll create you the Cognito user pool, which will be useful for accessing Amplify Auth. Then, choose the default options for the project name, environment, and access type.

Next, choose the reason for using gen 1, if you can manually set up gen 2, it’s best to choose it.
Follow the prompts (or if you have a framework outside Vite React, you can modify the Framework):
? Enter a name for the project: rekognition
? Enter a name for the environment: dev
? Choose your default editor: Visual Studio Code
? App type: javascript
? What javascript framework are you using: none
? Source Directory Path: src
? Distribution Directory Path: dist
? Build Command: npm run-script build
? Start Command: npm run-script start
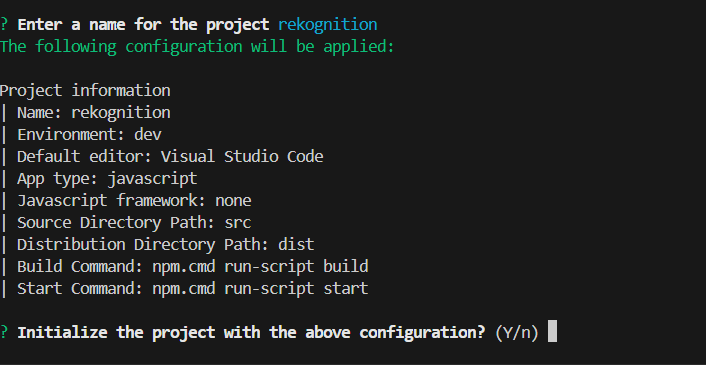
But, you don’t need to create anything, since the project already has the necessary files.
3. Add Amplify Auth
First, choose the Profile (or if you have access key of the IAM, you can pick the access key option, both are fine)
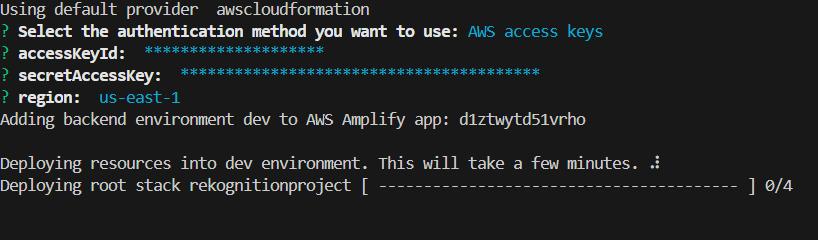
This is for the Access Key option (IAM user with amplify and rekognition access, for more on how to do it properly, scroll down on 4.Update IAM Role Permissions)

Then, click enter of the profile you created, it will initialize the project file.

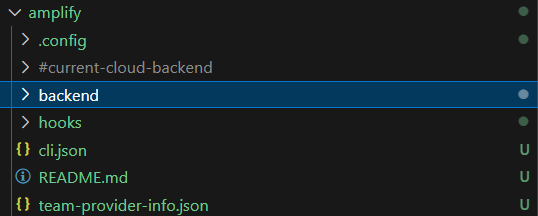
Then, the configuration files of amplify are set, you’re good to go!

After that, you can re-create the backend or frontend of this project, but we’ll not going through that now.
Choose:
- Manual configuration
- User Sign-Up, Sign-In, connected with AWS IAM controls
- Friendly name:
- Identity pool name:
- Allow unauthenticated logins:
- Accept defaults for the rest
4. Update IAM Role Permissions
You must allow authenticated or unauthenticated users to access Rekognition (or you can use the based profile you have been doing in the preperation step).
It’s best practise for each service to have its own IAM role. This is because you can easily remove access to a service if you need to. But for simplicity, we will use the same IAM role for both Rekognition and Amplify Auth and the whole project.
Go to AWS IAM Console → Roles
Select:
unauthRole(if no login required - which is our project is building), orauthRole(if using authentication like OAuth or others)

- Scroll down and choose Add Permissions
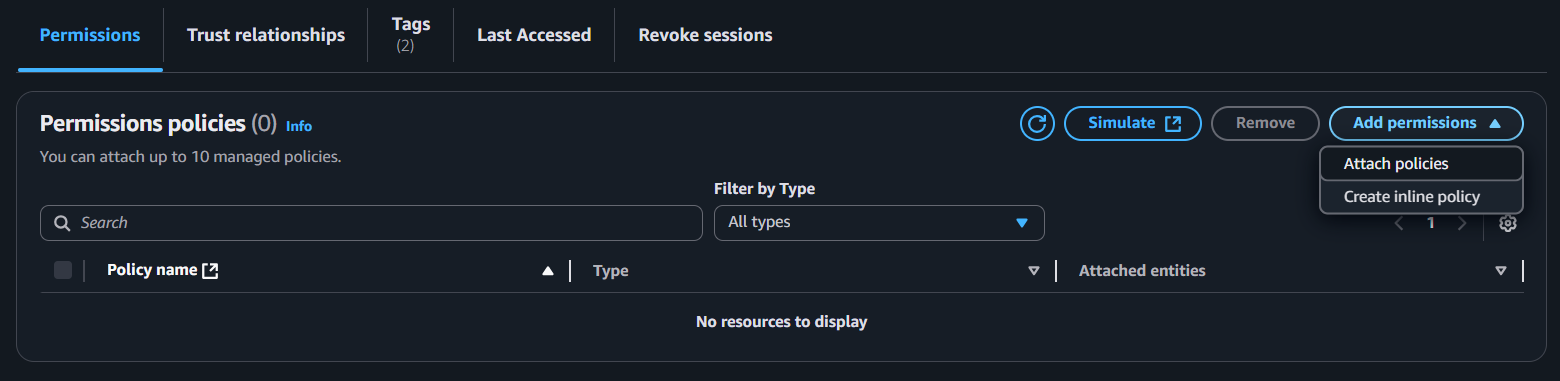
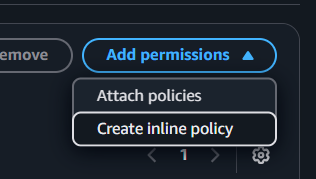
Click to Create Inline Policy
- Select JSON and paste:
{
  "Version": "2012-10-17",
  "Statement": [
    {
      "Effect": "Allow",
      "Action": "rekognition:StartFaceLivenessSession",
      "Resource": "*"
    }
  ]
}
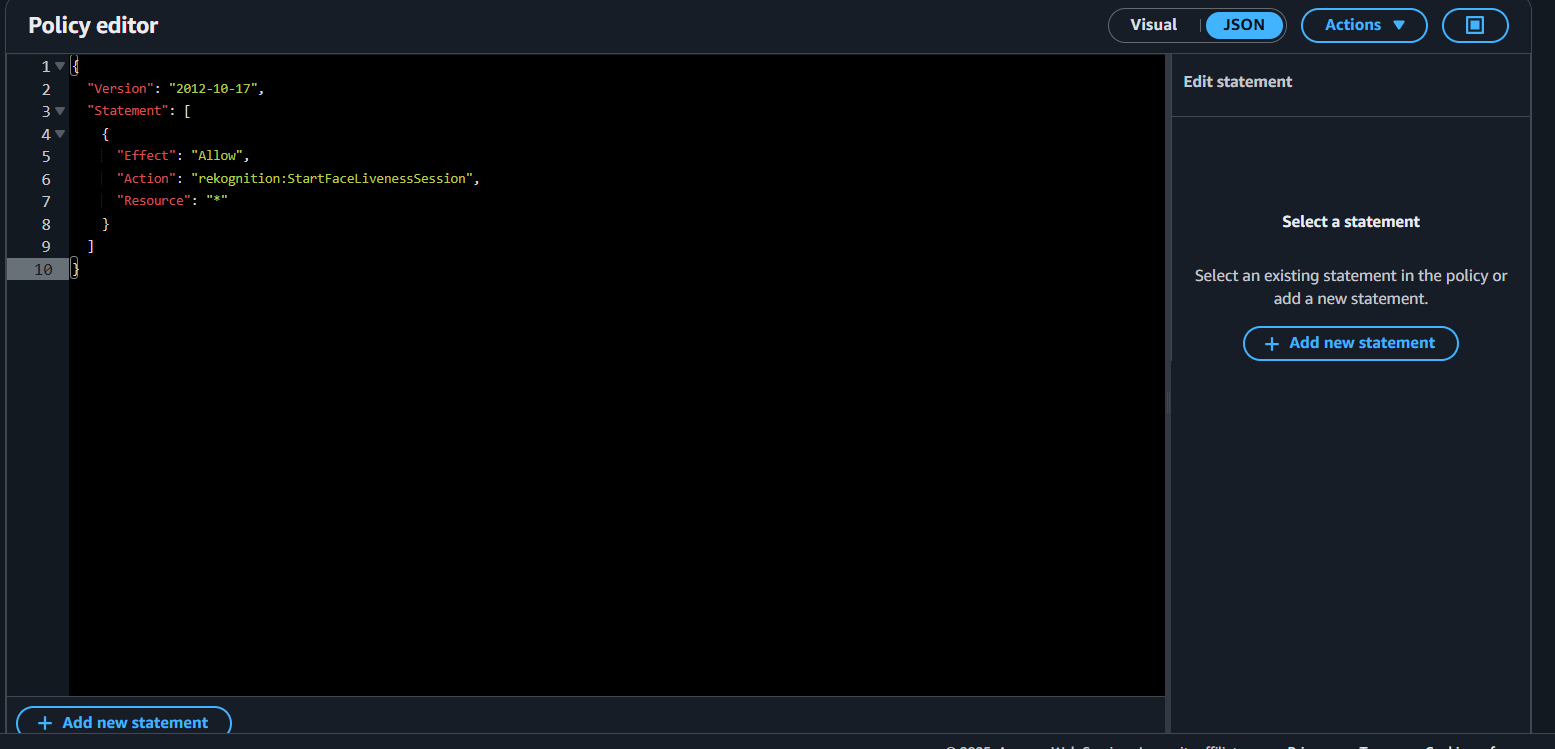
- Click “Save”

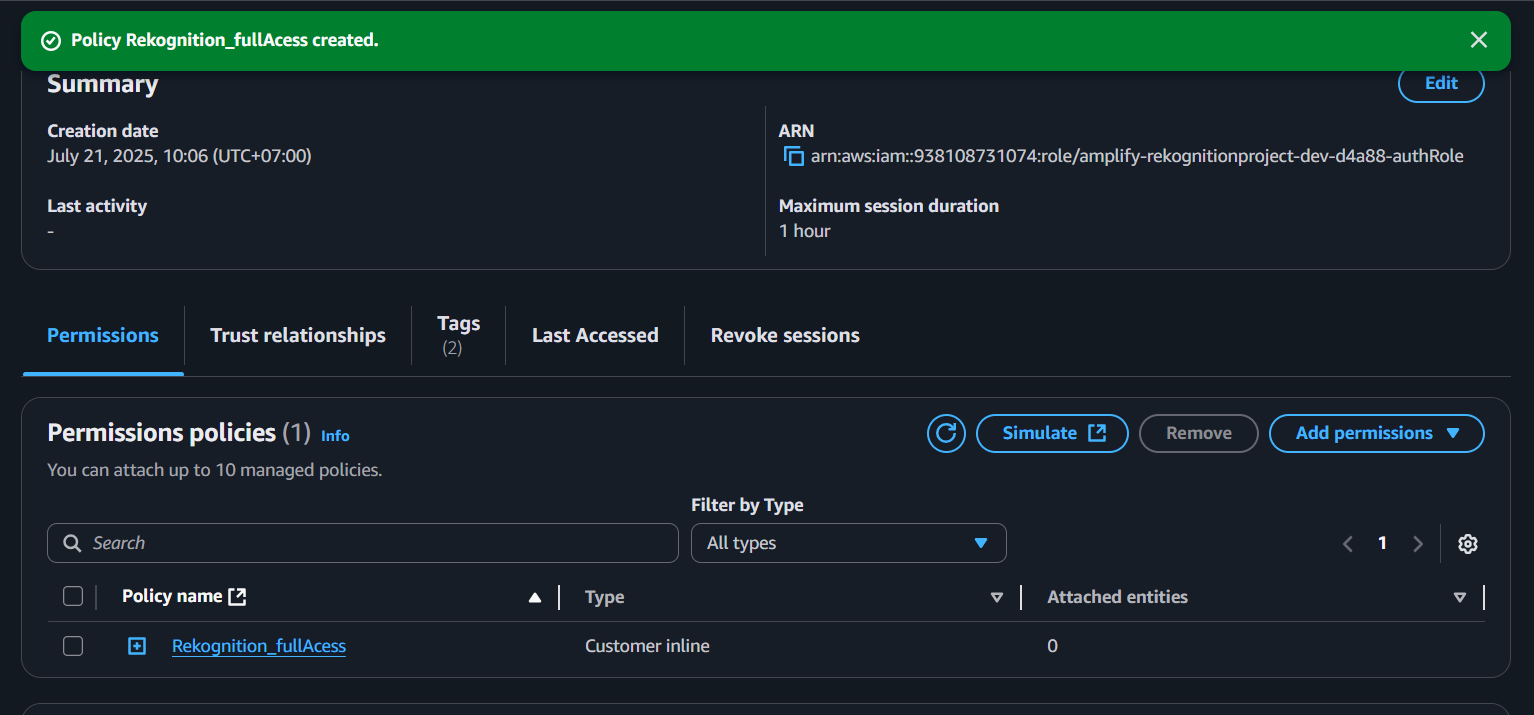
- Review, name the policy, and create the policy.
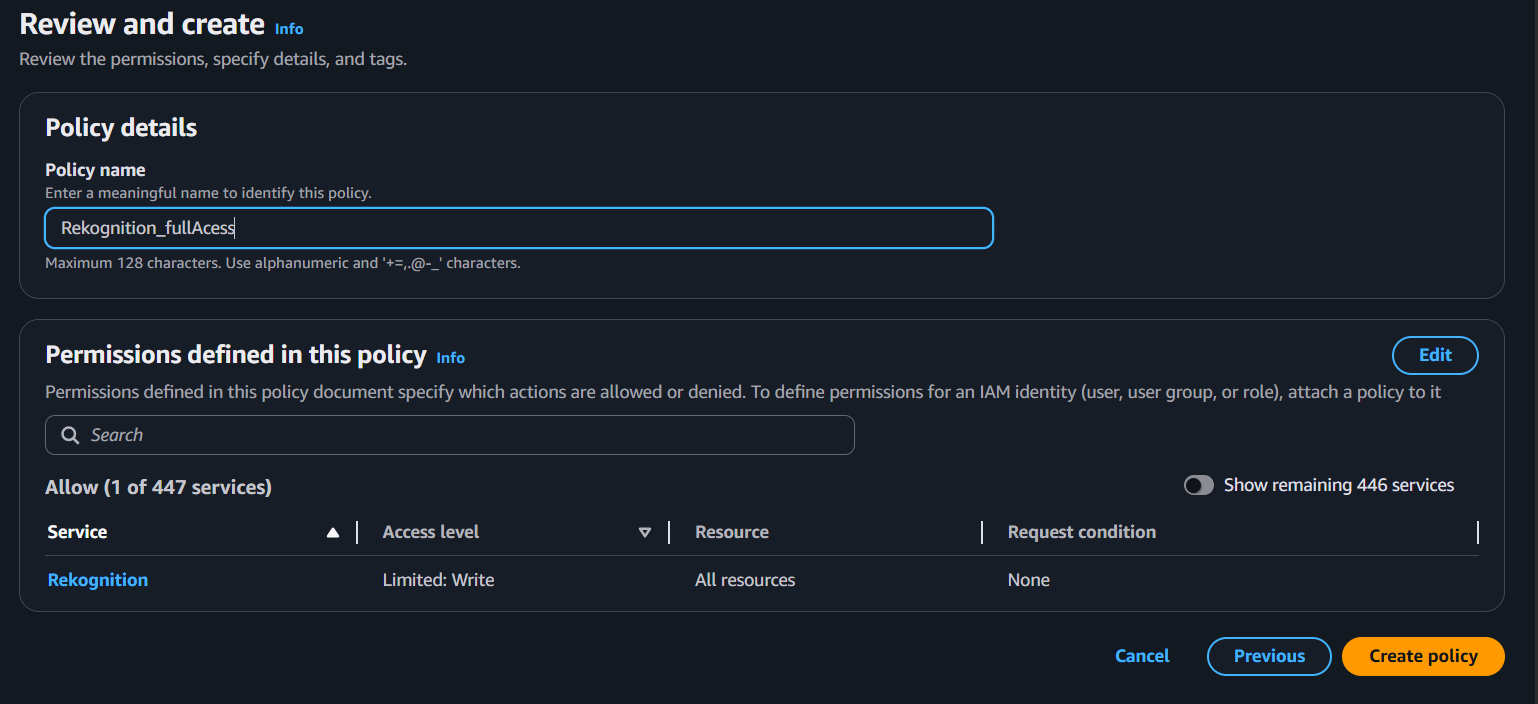
- Wait and see the new policy has been set
5. Install UI Dependencies
- Since the first npm install will block or doesn’t allow those package to install because of “deprecated reasons”.
npm install @aws-amplify/ui-react-liveness aws-amplify
6. Next Steps
To fully enable Face Liveness Detection:
Configure our DynamoDB first
Run the project locally
And if you want to make it serverless, there’s more tasks ahead!!!
Serverless website
Build backend APIs to:
- Create sessions (
StartFaceLivenessSession) - Retrieve results (
GetFaceLivenessSessionResults)
- Create sessions (
Integrate with your authentication & authorization flow
Test in your preferred AWS region
If you are using a different AWS region, you will need to update the region in your AWS CLI configuration and in your code. You can do this by running
aws configureand following the prompts to enter.