Setup S3 Bucket
S3 BUCKET CREATION & CONFIGURATION
1. Create S3 Bucket
Go to: https://s3.console.aws.amazon.com/s3/home
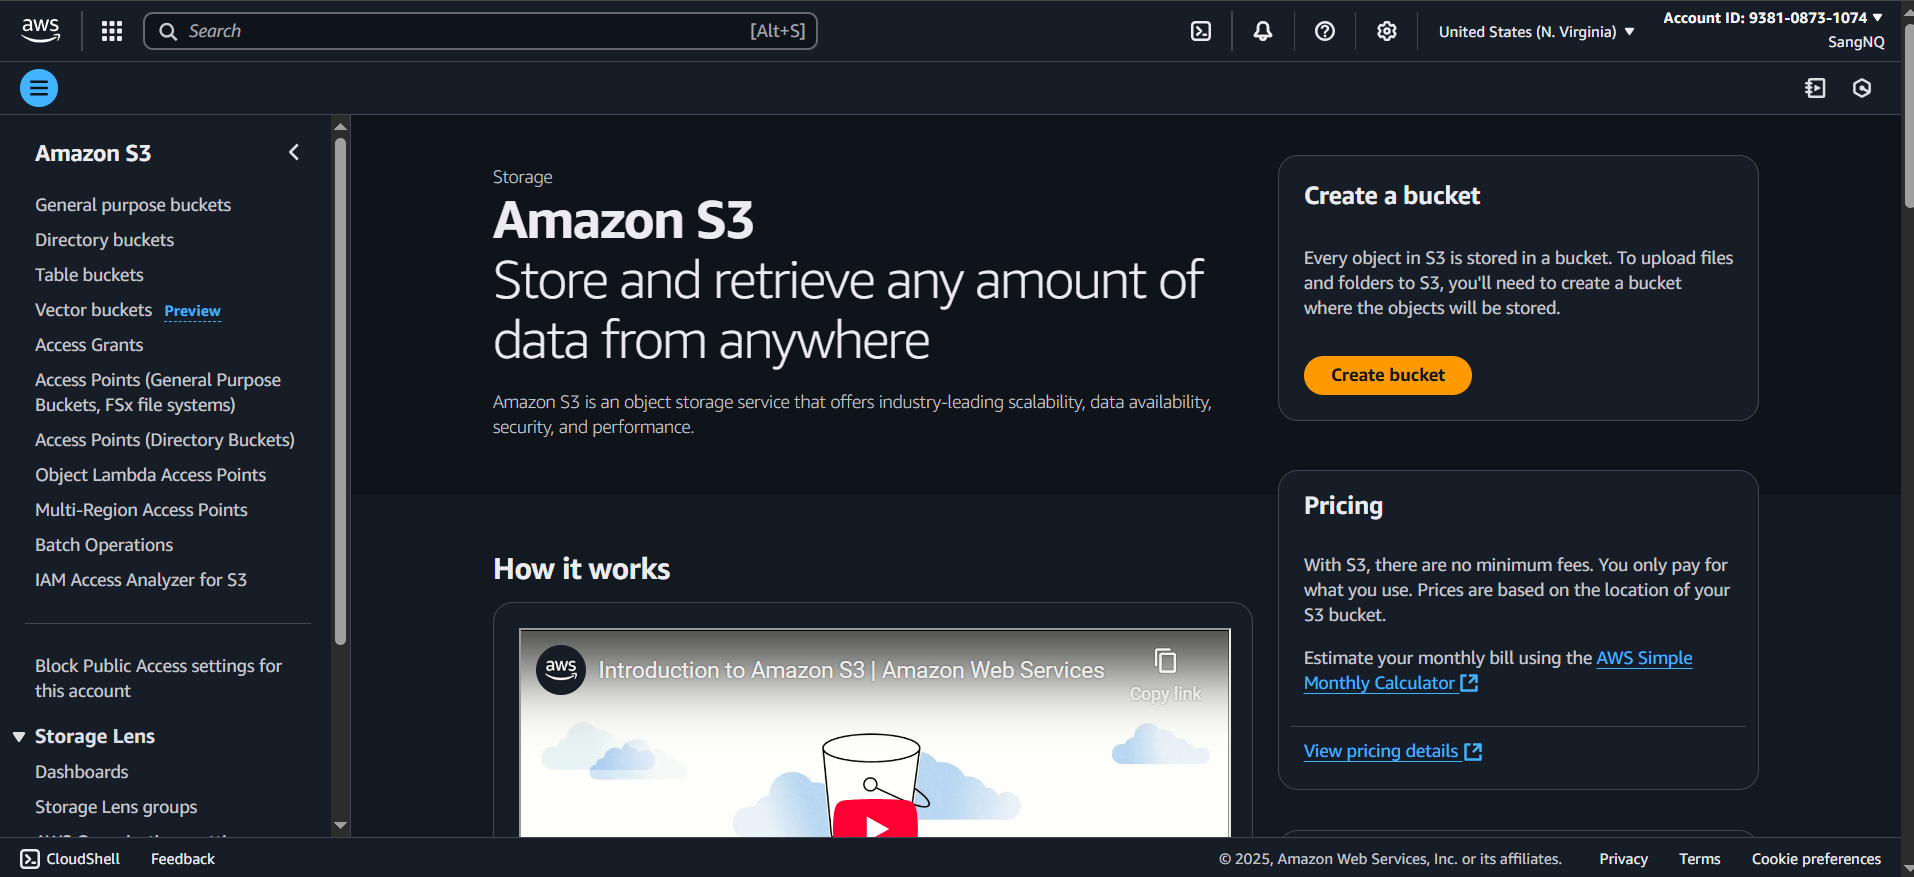
Click Create bucket, and fill in:
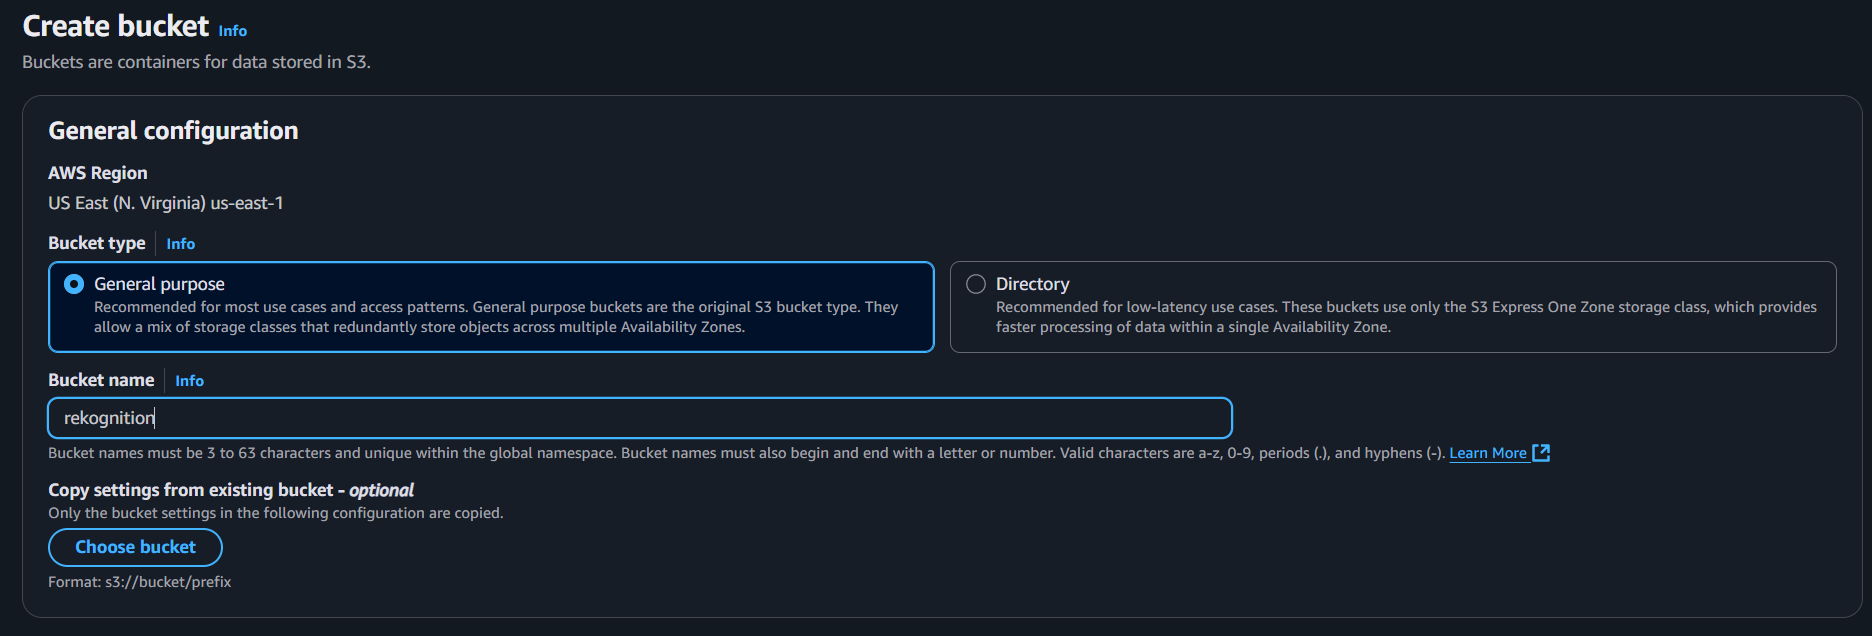
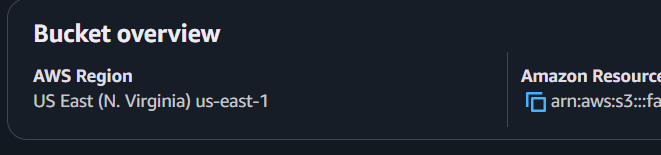
▸ AWS Region:
Choose your preferred (same as in your AWS profile), e.g.,
us-east-1
If you are using a different AWS region, you will need to update the region in the AWS Management Console on the upper right, next to Account ID
▸ Bucket type:
- Choose “General purpose”
▸ Bucket name:
- Use lowercase, no spaces.
- Example:
face-recognition-users - Remember the bucket name
2. Object Ownership
This affects whether objects uploaded by others are owned by you (the bucket owner)
Recommended Setting:
- Choose: ACLs disabled (Bucket owner enforced) → safest & preferred
- Why: Prevents cross-account issues and ensures the bucket owner owns all uploaded files.

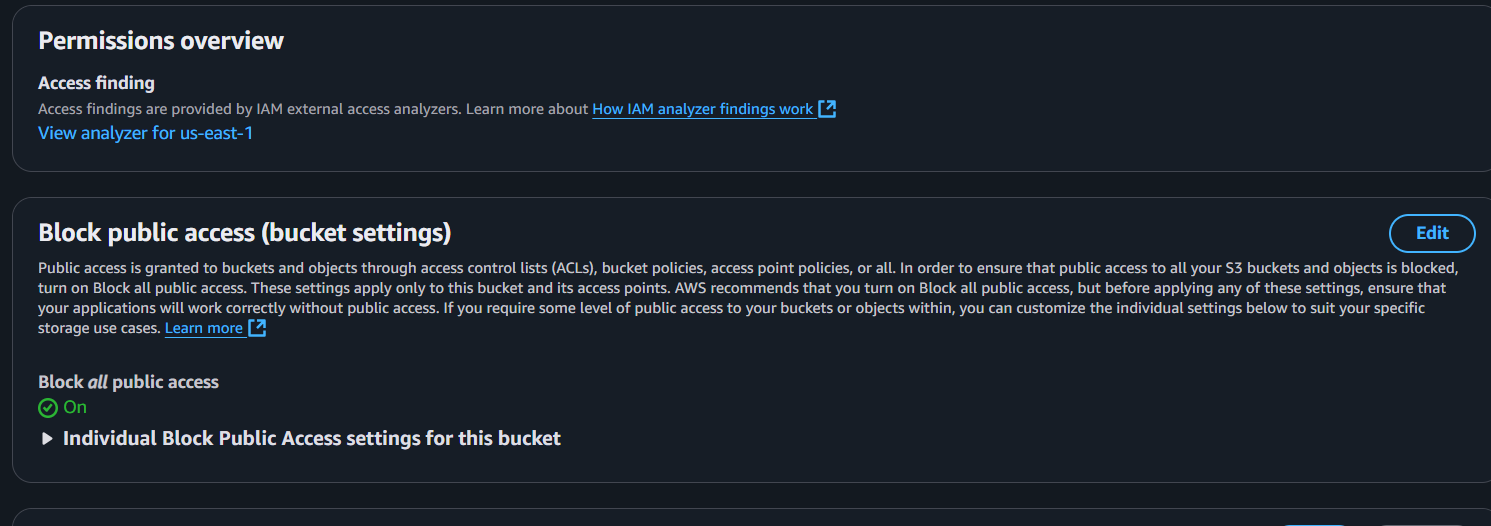
3. Block Public Access Settings
This determines if objects can be made public.
*Recommended Setting** (FOR PRIVATE FACE DATA):
- Leave all 4 checkboxes checked (default)
- Block all public access
- Block public ACLs
- Block public bucket policies
- Restrict public buckets
📌 Why? You do not want anyone from the internet accessing user face images.

If testing requires public access temporarily, you can unblock later, but always re-enable for production.
4. Bucket Versioning
This stores multiple versions of the same file.
- Recommended: Disable
- Unless you need to track changes or deletions, versioning is unnecessary and costs more.

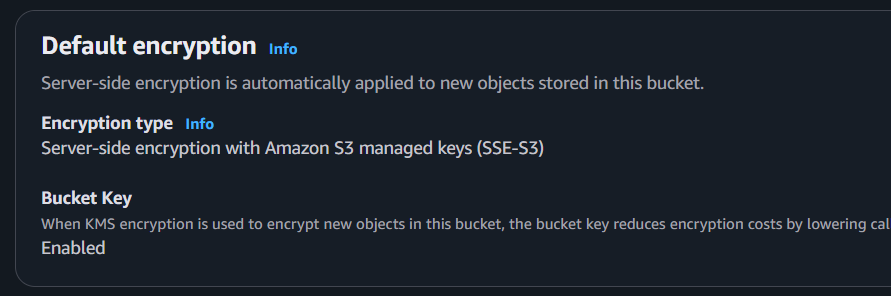
5. Default Encryption
Encrypts objects at rest.
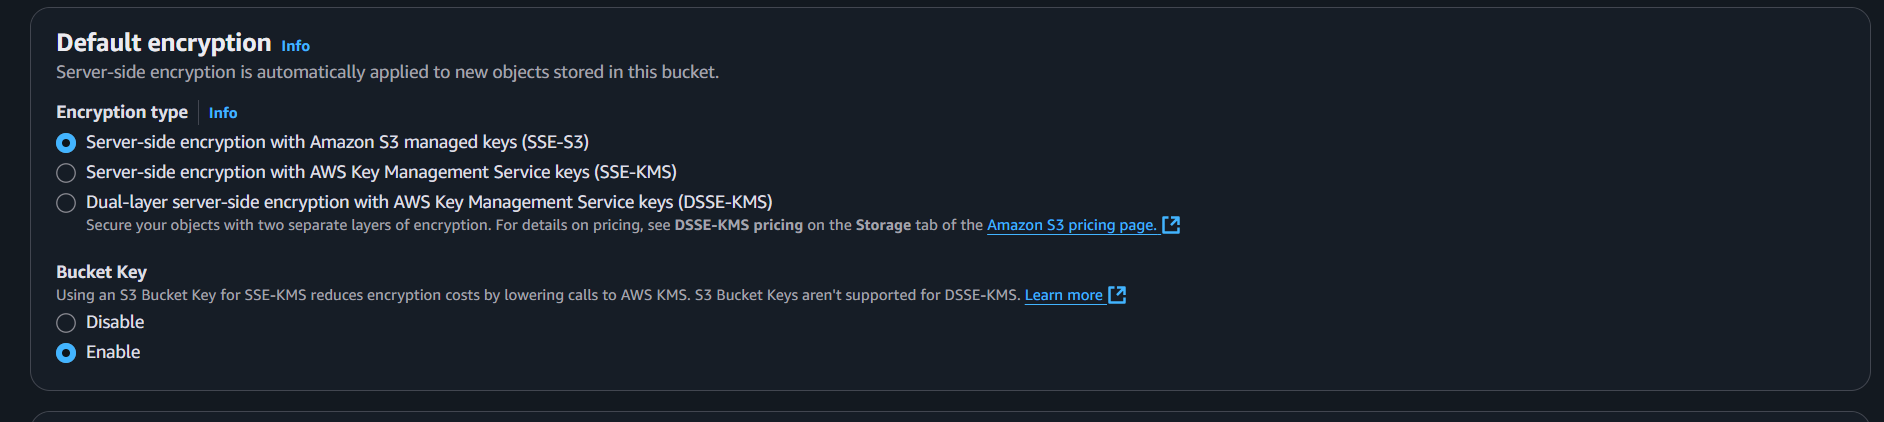
Recommended: Enable
- Select: S3-managed keys (SSE-S3) → simplest and still secure
- Or, for more control: AWS KMS keys (SSE-KMS) → for regulated environments
📌 Encryption helps protect sensitive facial data.
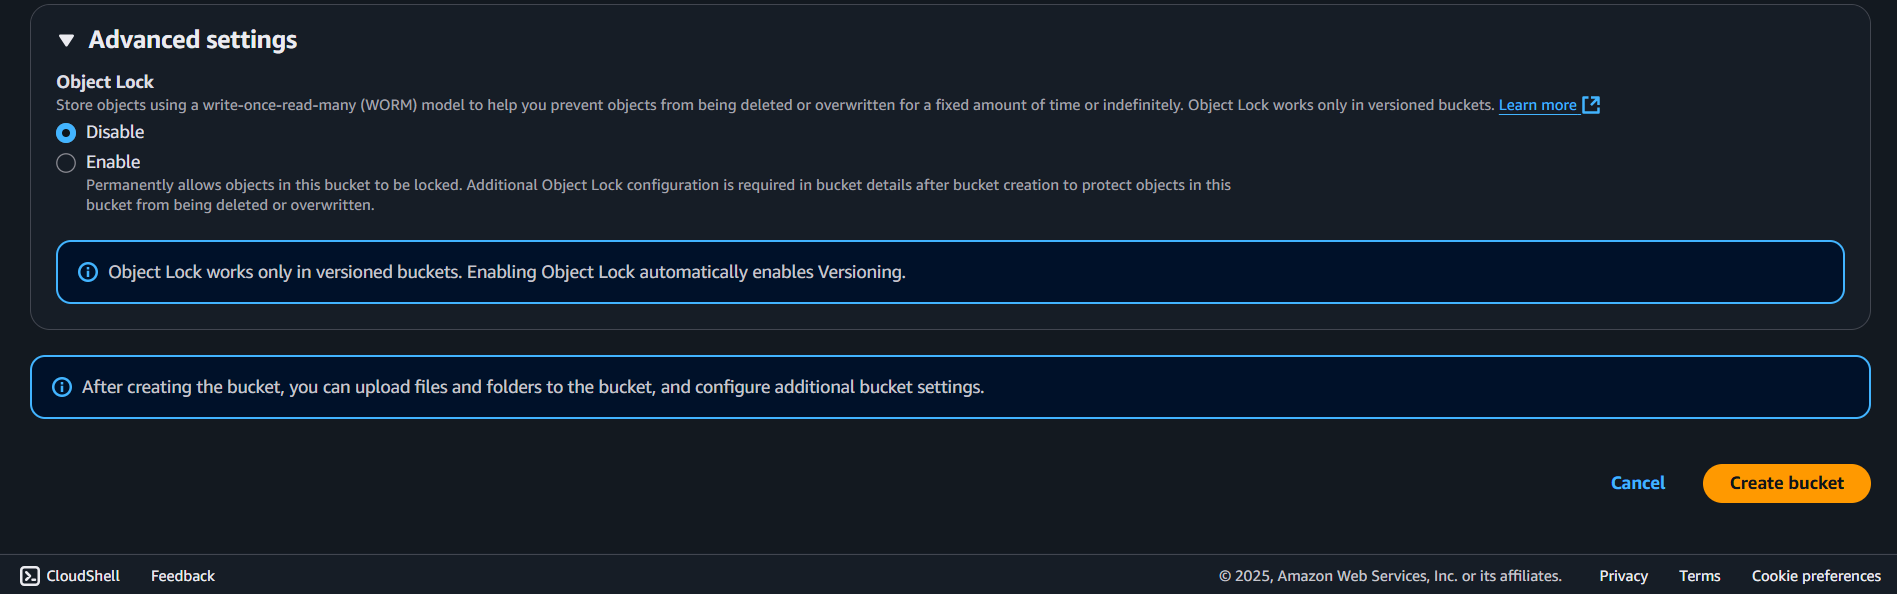
6. Advanced Settings
You can skip most of this unless needed for logging or replication. Tags: Not needed now (optional for cost tracking)

Object Locking: Leave disabled unless you need WORM (write once, read many)

Final Step: Create Bucket
Click “Create bucket” to finish.
Post-Setup Checks
- Permissions tab:
- Ensure “Block all public access” is still enabled.
- Properties tab:
- Confirm encryption and region are correct.
- Upload test file (optional):
- Upload a face image into a
faces/folder (optional organization).
- Upload a face image into a
Summary for Face Rekognition Use Case
| Setting | Value |
|---|---|
| Object Ownership | Bucket owner enforced (ACLs off) |
| Block Public Access | All checked |
| Versioning | Disabled |
| Encryption | SSE-S3 |
| Bucket Name | your_s3_name |
| Folder (optional) | faces/ |
STEP 2: Set Up .env
Create a .env file in your project folder (or like the .env.example in the clone project of this workshop, the others env like Dynamo can be build later in this workshop):
AWS_REGION=us-east-1 #or the region specified that you selected
S3_BUCKET=your-bucket-name
REKOGNITION_COLLECTION= your-collection-name