Deploy and host the project locally
Overview
Once all AWS services and environment variables have been set up, you can start the project locally for testing and development.
This step will launch a Vite development server that serves the frontend application.
Step 0: Update your .env
- Your .env file in the project root should contain all the AWS service configuration values required for the backend to connect to Rekognition, S3, and DynamoDB.
Example .env.examle (project folder already provided)
AWS_ACCESS_KEY_ID=YOUR_AWS_ACCESS_KEY_ID
AWS_SECRET_ACCESS_KEY=YOUR_AWS_SECRET
AWS_REGION=us-east-1
S3_BUCKET=YOUR_S3_BUCKET_NAME
REKOGNITION_COLLECTION=YOUR_REKOGNITION_COLLECTION_NAME
DYNAMO_TABLE=YOUR_DYNAMO_TABLE_NAME
Why these matter:
AWS_ACCESS_KEY_ID / AWS_SECRET_ACCESS_KEY → IAM credentials to access AWS services
AWS_REGION → AWS region code (e.g., us-east-1 for N. Virginia)
S3_BUCKET → Name of the S3 bucket storing your face images
REKOGNITION_COLLECTION → Rekognition collection ID you created earlier
DYNAMO_TABLE → DynamoDB table name for storing metadata
Frontend .env
- The frontend (inside frontend/) often needs its own .env file so Vite can inject variables at build time.
Example .env (frontend)
VITE_API_BASE_URL=http://localhost:3001
You only need to know that this is here. If you wanted to proceed without deploying serverless, you can skip this
Step 1 – Navigate to the Frontend Directory
Move into the frontend directory:
cd frontend
Step 2 – Start the Development Server
Run:
npm run dev
You should see output similar to:
> frontend@0.0.0 dev
> vite

  VITE v5.4.19  ready in xxx ms

  ➜  Local:   http://localhost:3000/
  ➜  Network: use --host to expose
  ➜  press h + enter to show help
Open the Local link in your browser to start using the app.
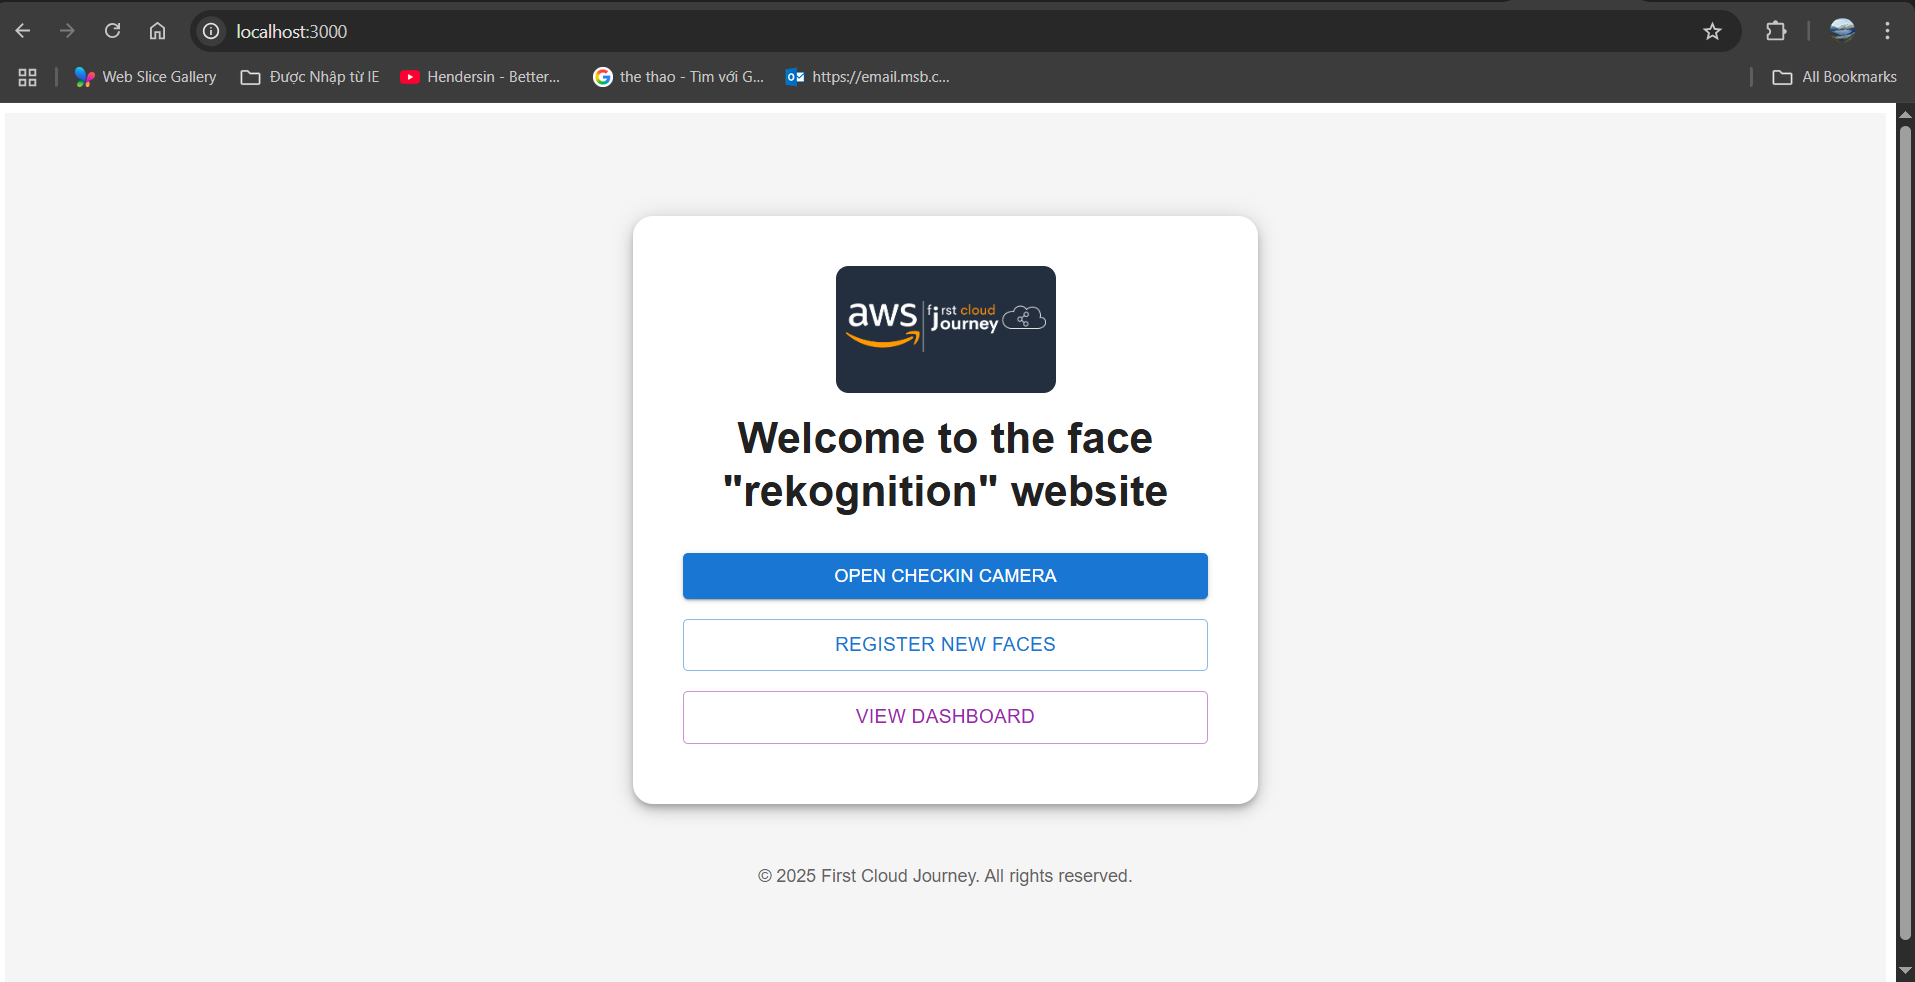
From here, the flow is going accordingly:
- You first have to register a face via your image (make sure your image is clear and your face is close enough to the photo you uploaded)
- Then, navigate to the “Open checkin camera” to view the checkin session.
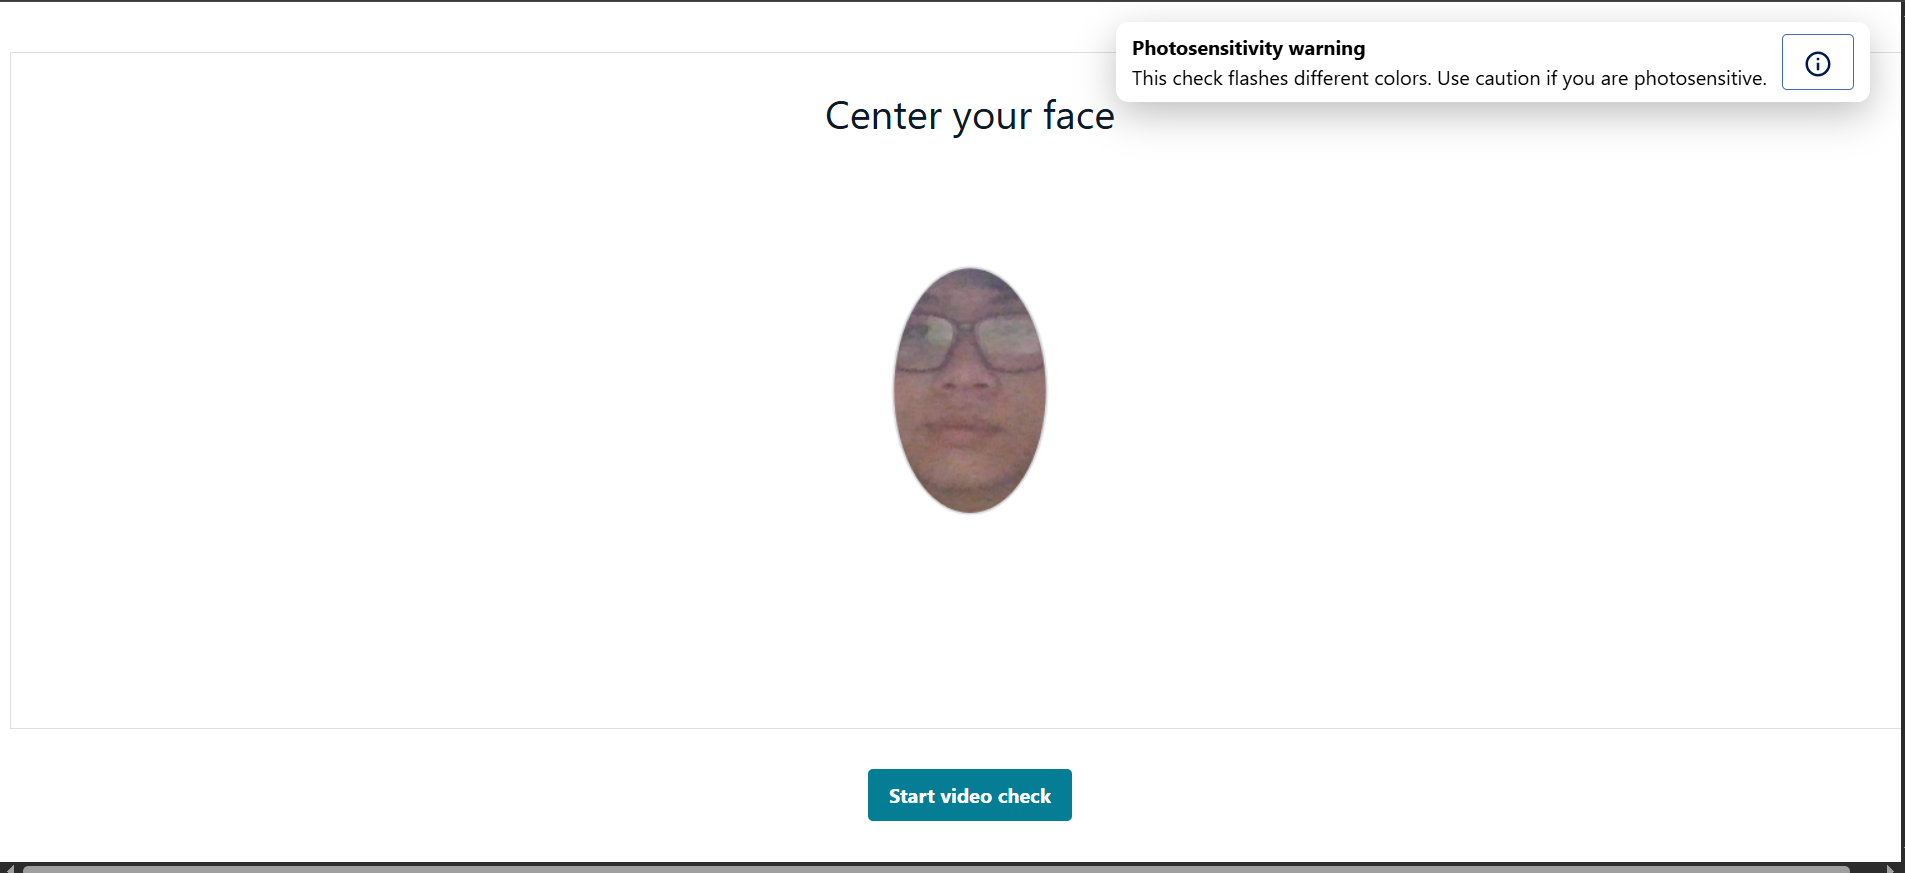
- Next, start and checking in, following the instructions:

- Next, a beam of colors will flash at you, you will have to hold still for it to capture your face

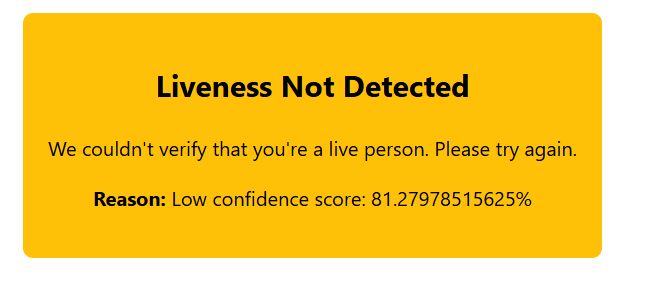
- If you move too far or not in the frame, the system will notify you like this:
- Else, it would show your name as well as your image (this feature is yet to deploy)
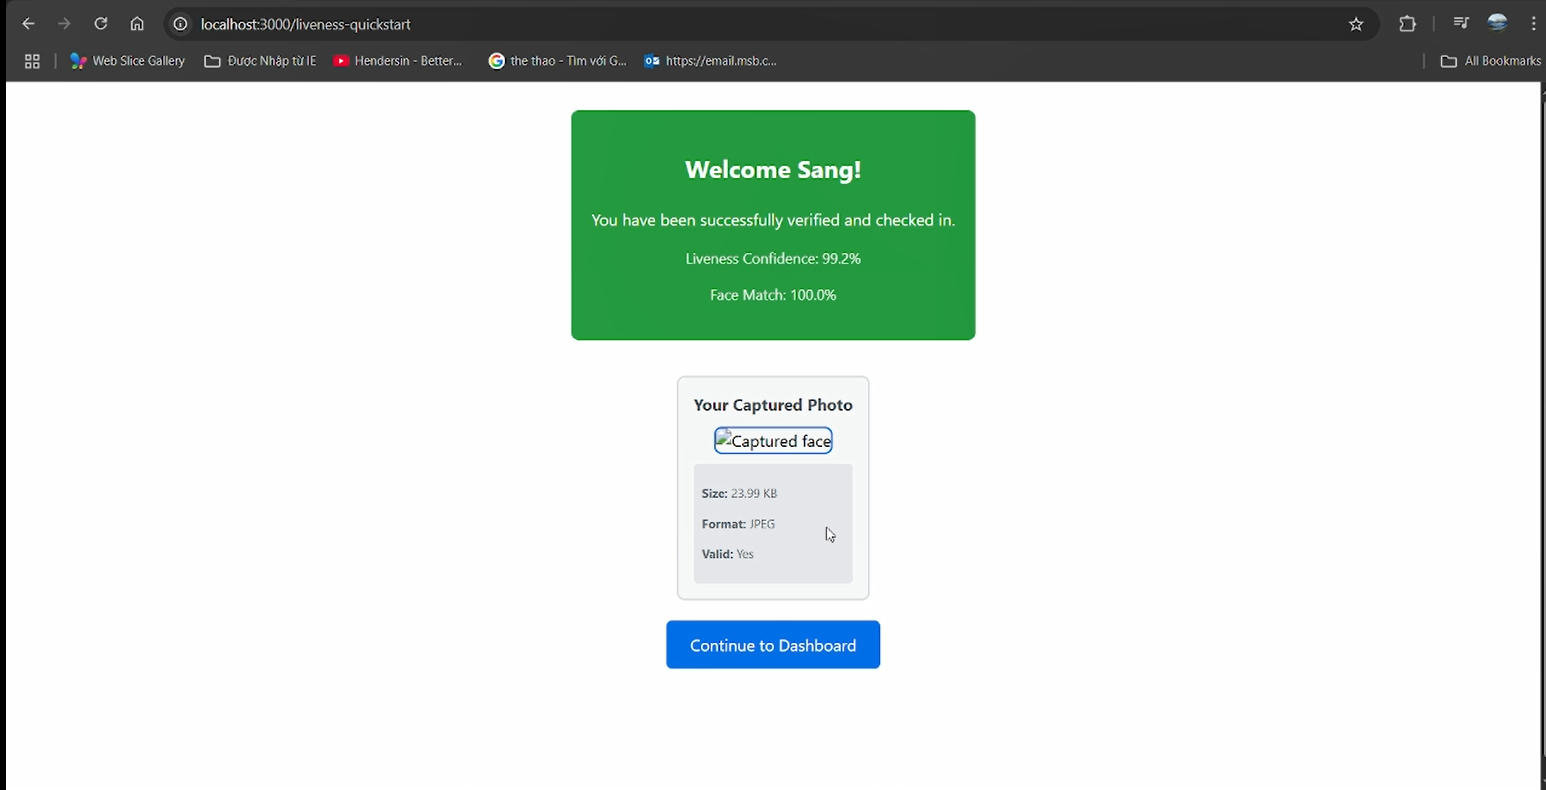
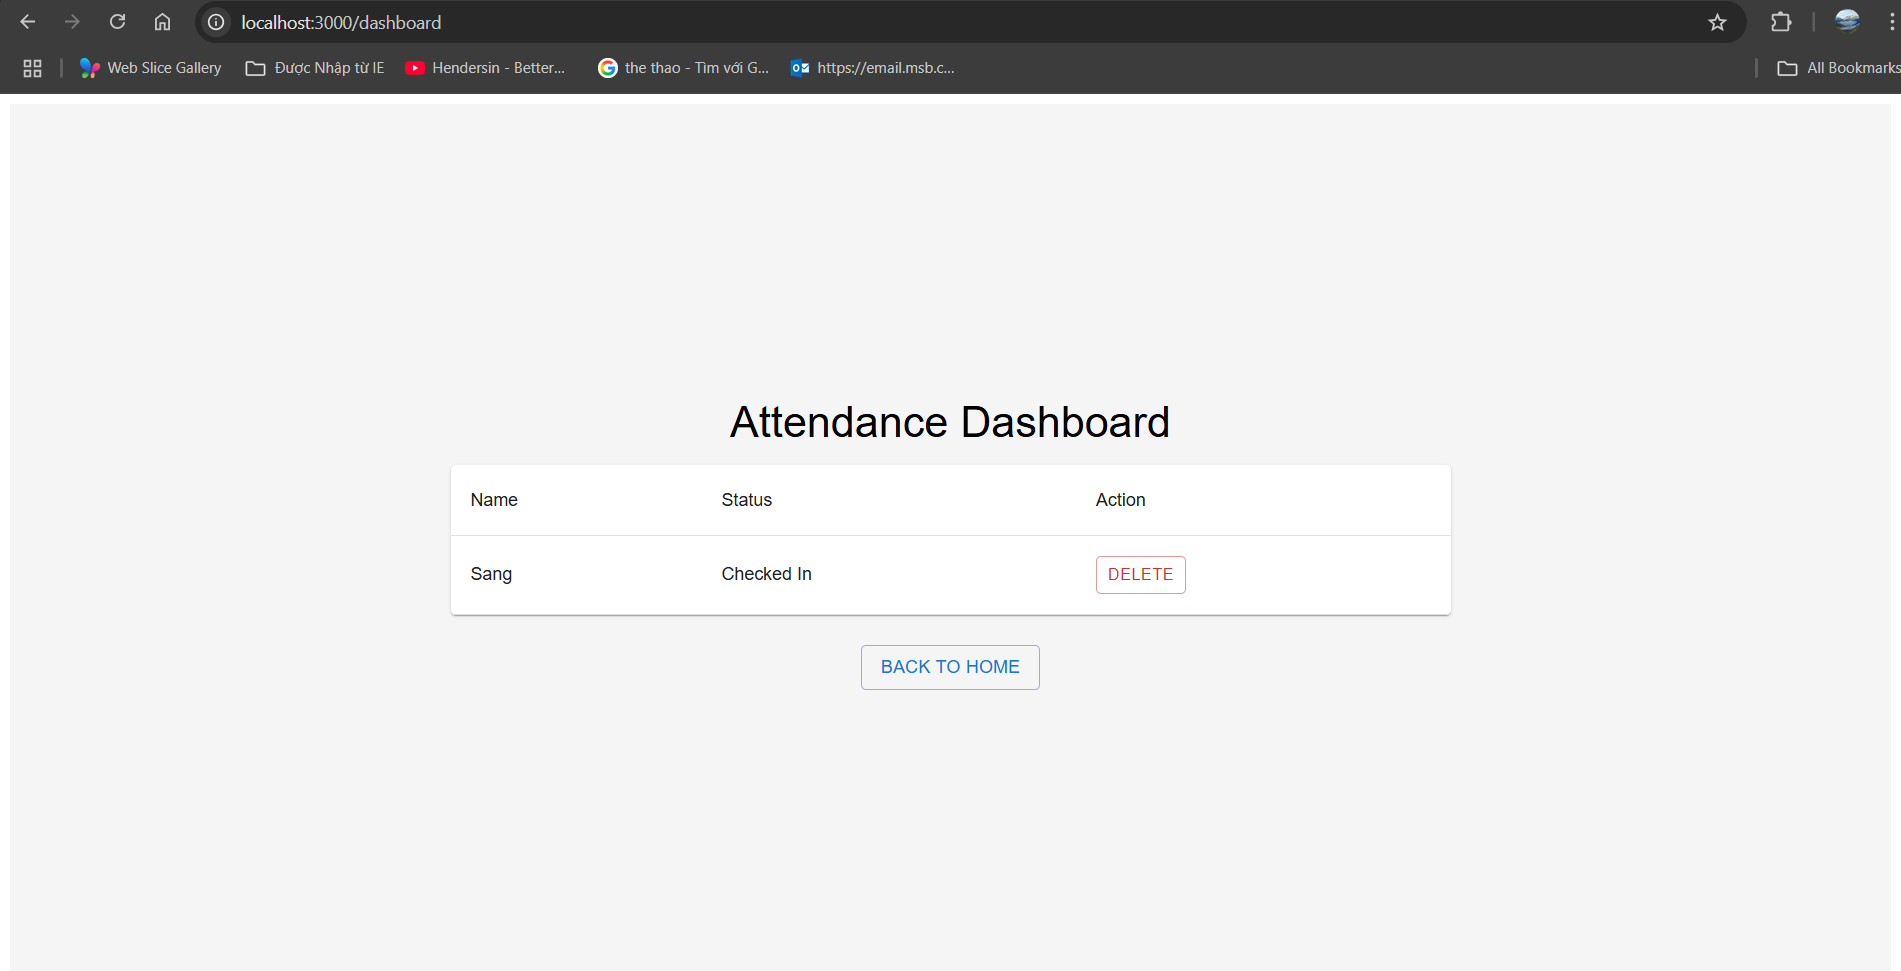
- Then, navigate to dashboard, you can see it’s checked in for my face among all faces in the system.
Troubleshooting
If the application does not start or behaves unexpectedly, check the following:
Backend API URL
Open
frontend/src/config/axios.jsEnsure the backend route is correct:
baseURL: import.meta.env.VITE_API_BASE_URL || "http://localhost:3001",If your backend is running on a different port or domain, update this accordingly.
Missing Dependencies
Sometimes,
npm installmay not add all packages due to Amplify’s deprecated dependencies (which this workshop will be in a short time, Amplify is changing everyday).In this case, run:
npm install --forceDo this both in the
frontendfolder and in the project root.
Amplify Configuration Files
Check for the presence of:
frontend/src/aws-exports.jsfrontend/src/amplifyconfiguration.json
If these files are missing or have incorrect values, revisit the Amplify setup step from the workshop to regenerate them.
If changes are made to .env or AWS configuration files while the dev server is running, Vite will automatically restart the server.
Are you ready to make it serverless?
If yes, we continue with 7. Deploying Lambda functions and API Gateway
If not, you can navigate to “Clean up resources”