Deploying S3 UI Bucket and CloudFront CDN
Deploy React/Vite Frontend to S3 + CloudFront
Step 1 — Create S3 Bucket
Go to AWS Console → S3 → Create bucket.
Bucket name: Give it a unique name (e.g.,
my-frontend-app-bucket). (This is the only field you change — keep all other settings default.)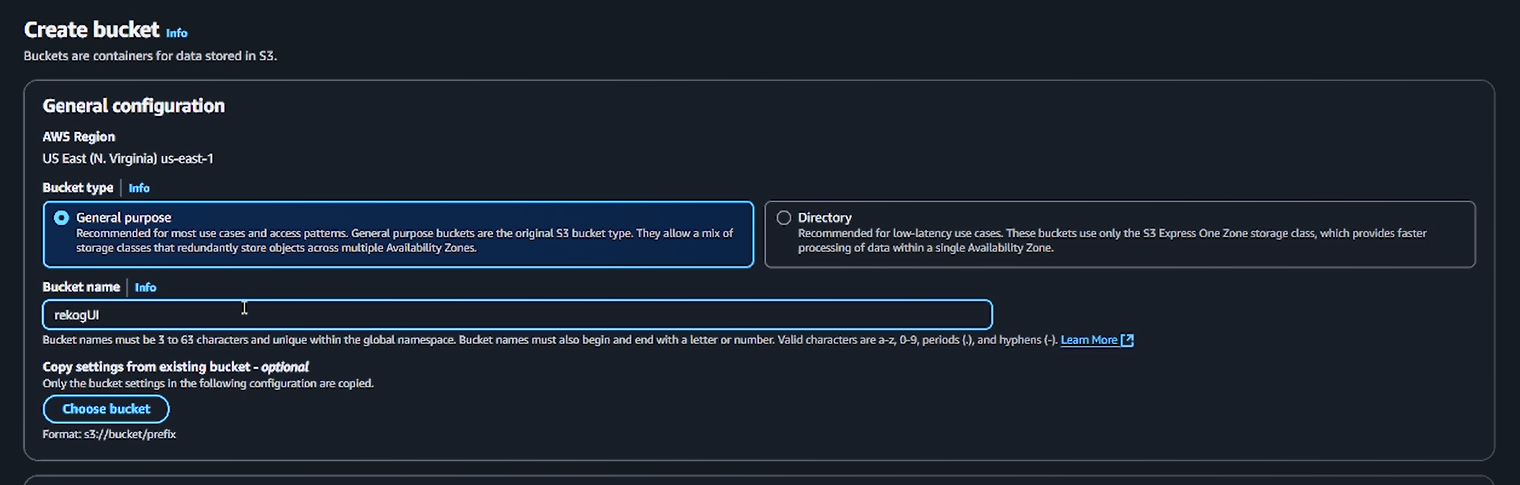
Leave:
- AWS Region → Default or your choice
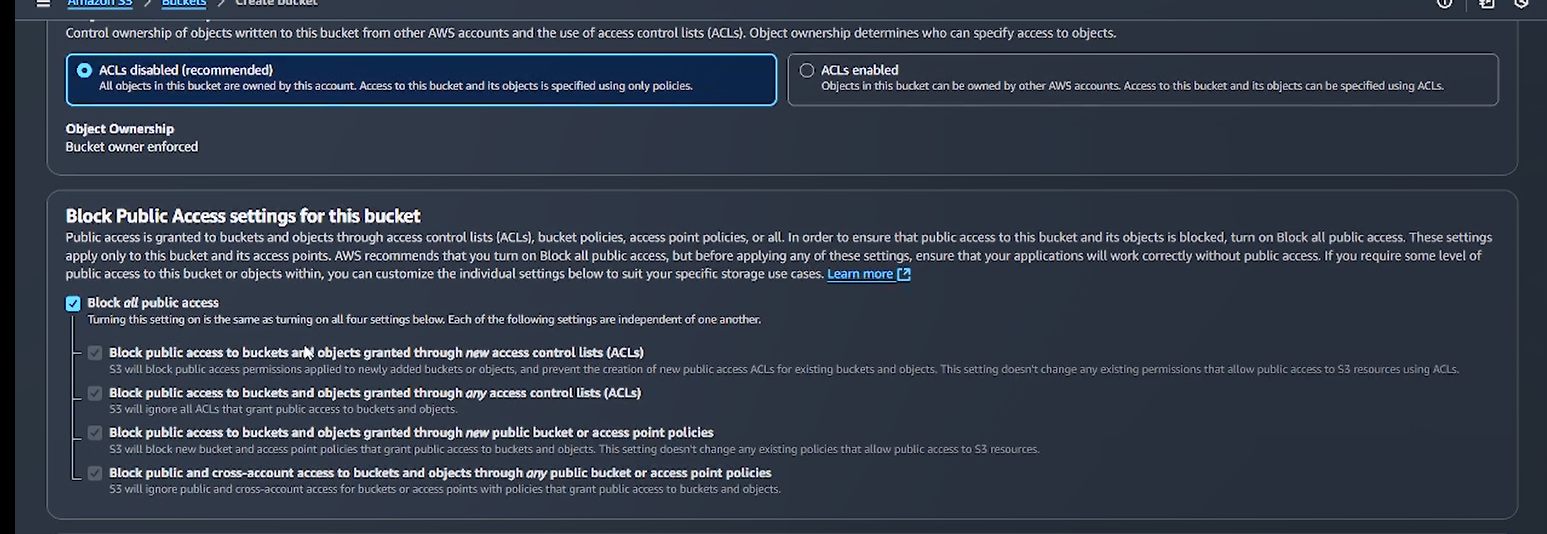
- Object Ownership → ACLs disabled
- Block Public Access → Keep as default
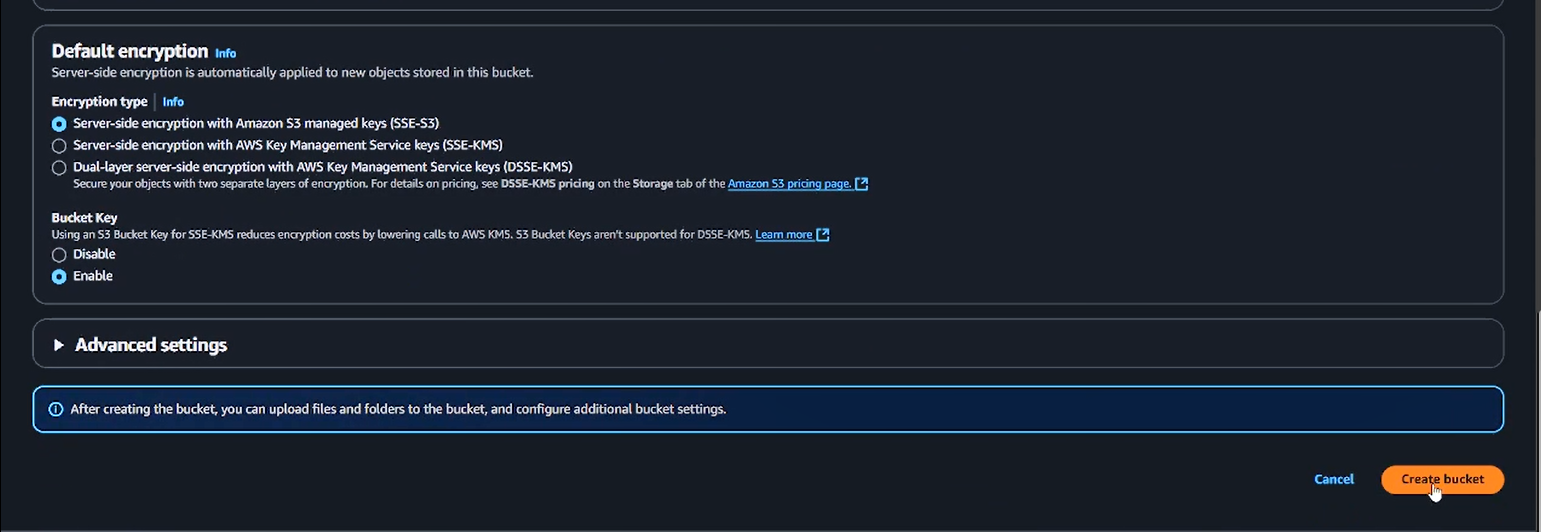
- Versioning, Encryption, Tags → default
- Click Create bucket.
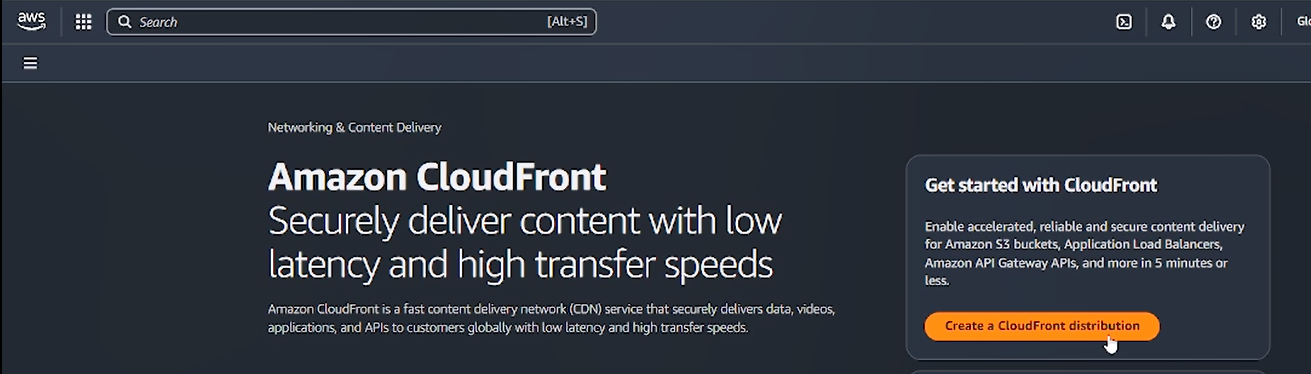
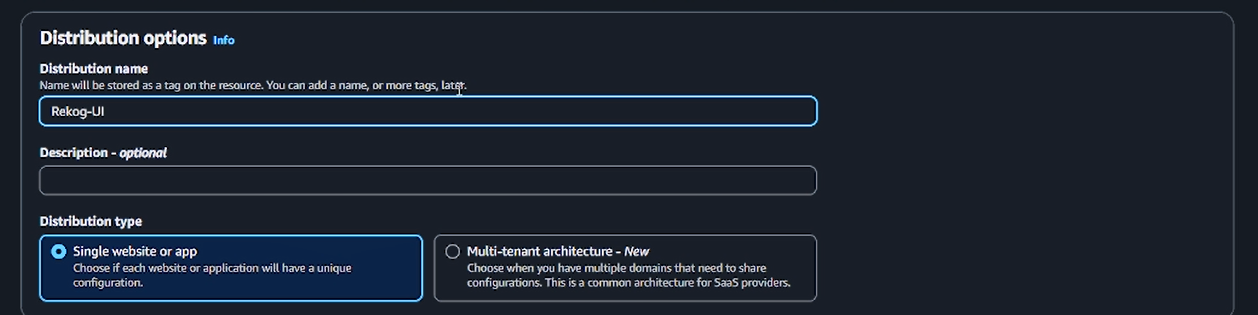
Step 2 — Create CloudFront Distribution
- Go to AWS Console → CloudFront → Create distribution.
Then enter your Distribution name
- Origin type: Select S3.
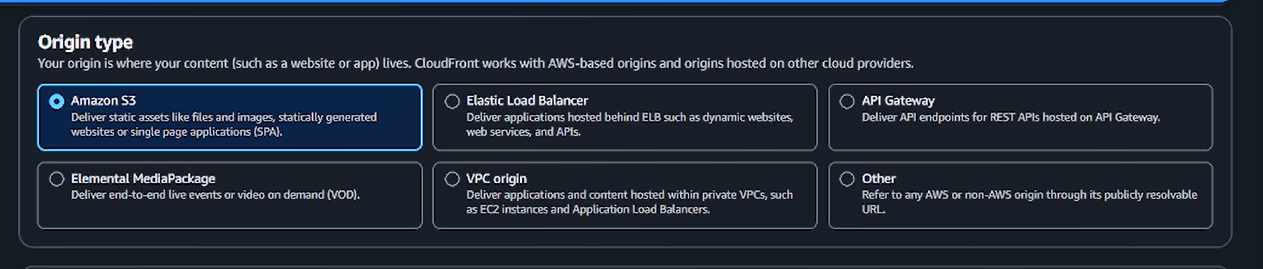
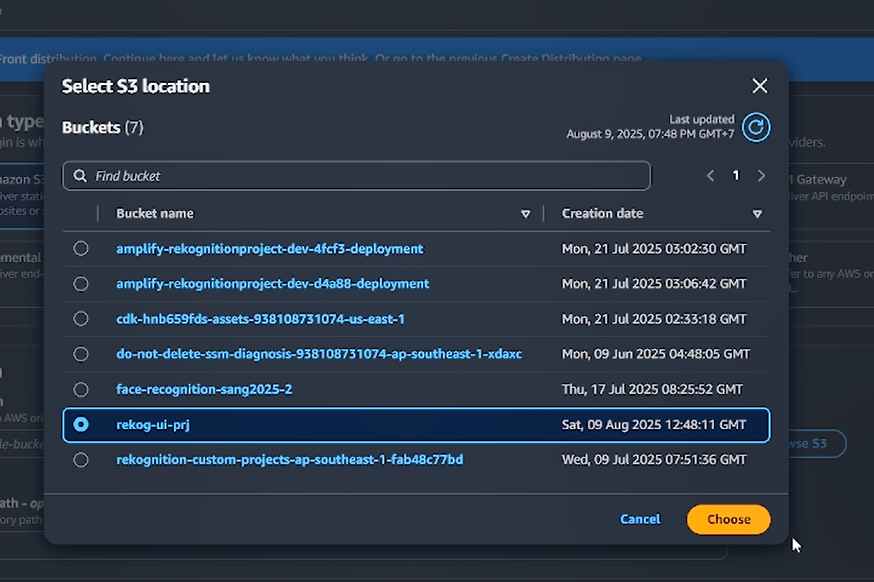
- Choose the S3 bucket you just created.
- Keep all other settings default:
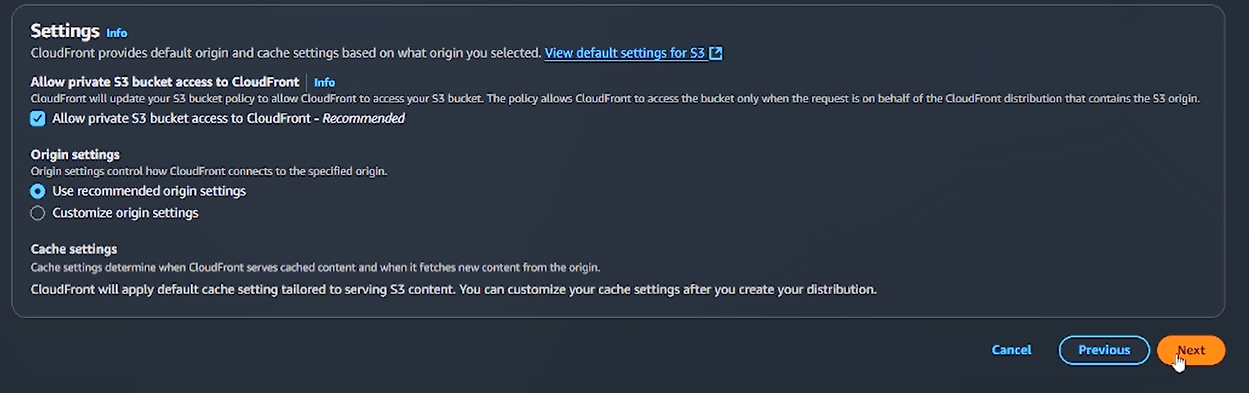
- Viewer protocol policy → Redirect HTTP to HTTPS
- Cache settings → Use origin cache headers
- Logging → Off
- Click Next.
- Web Application Firewall (WAF): Select Do not enable.
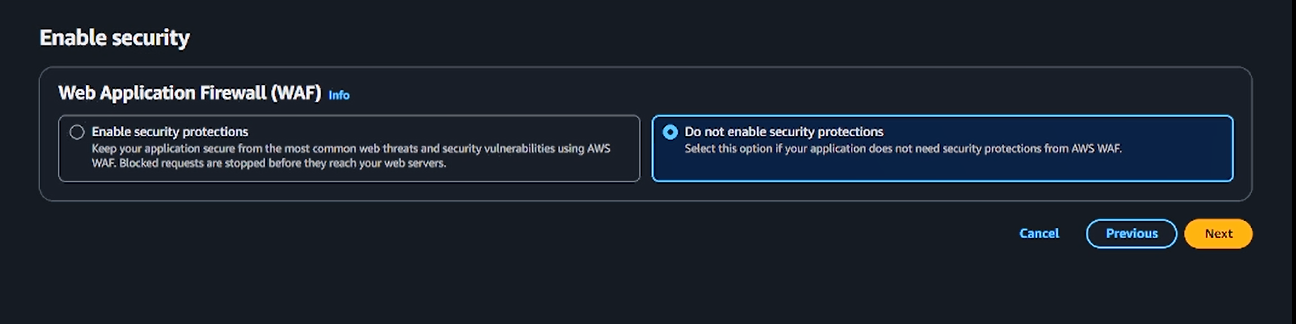
- Click Next.
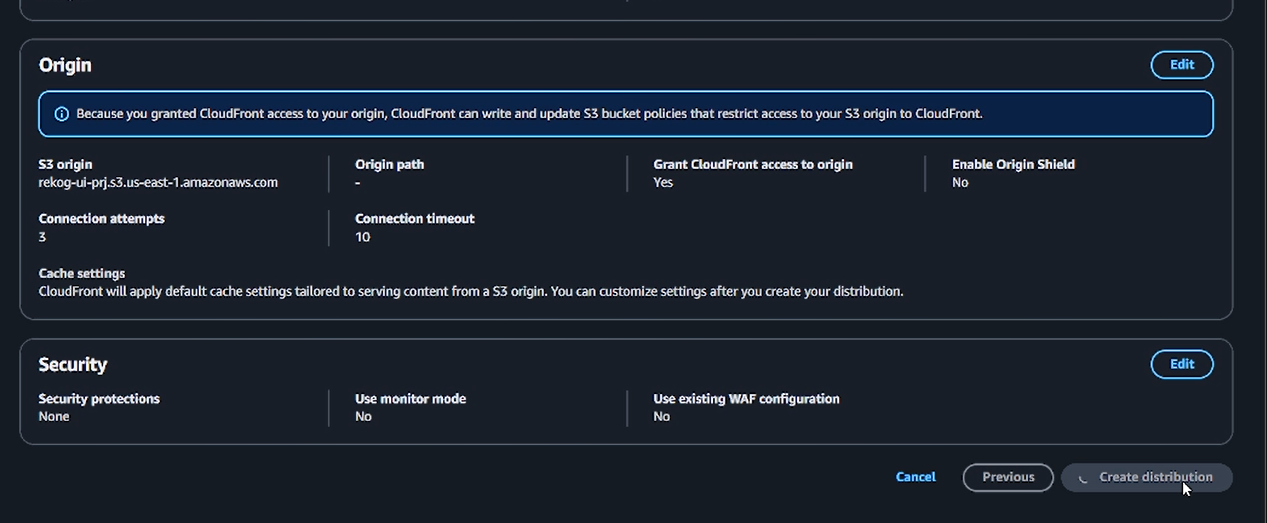
- Review → Click Create distribution.
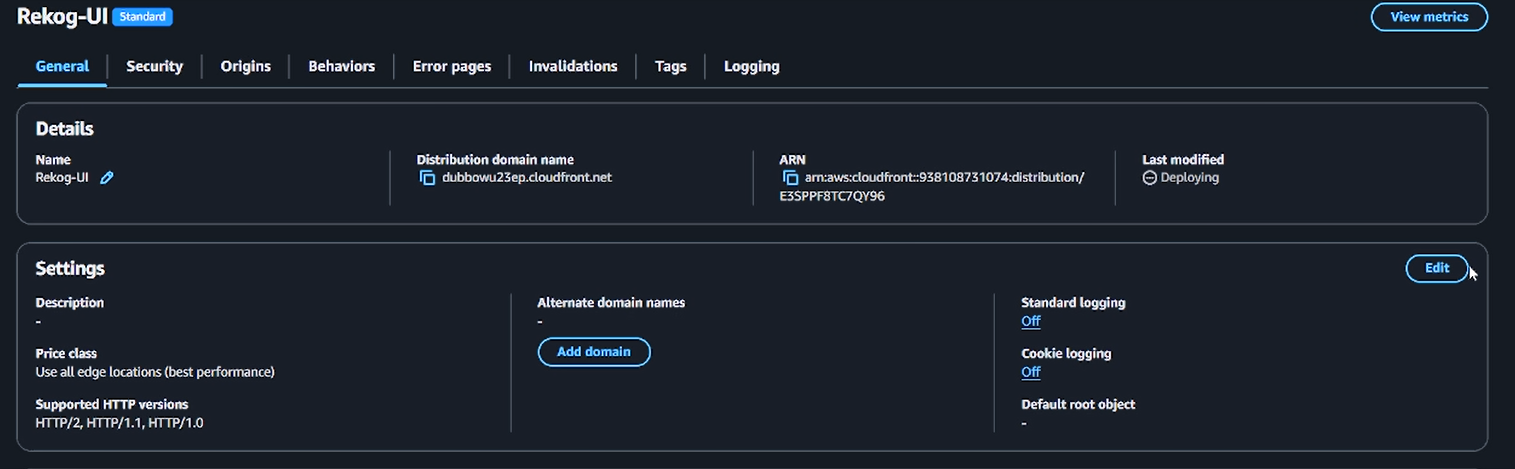
Step 3 — Set Default Root Object
- Go to your new CloudFront distribution.
- Settings → Edit.
- Default root object:
index.html
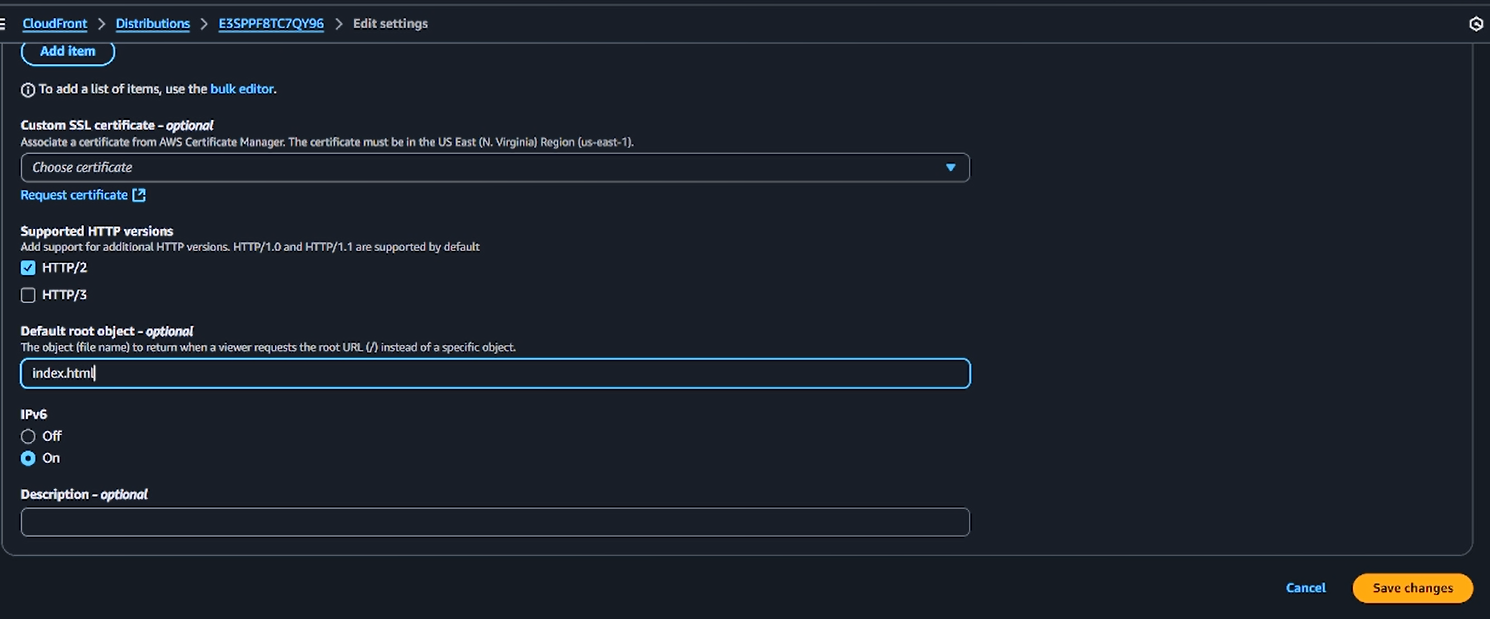
- Save changes.
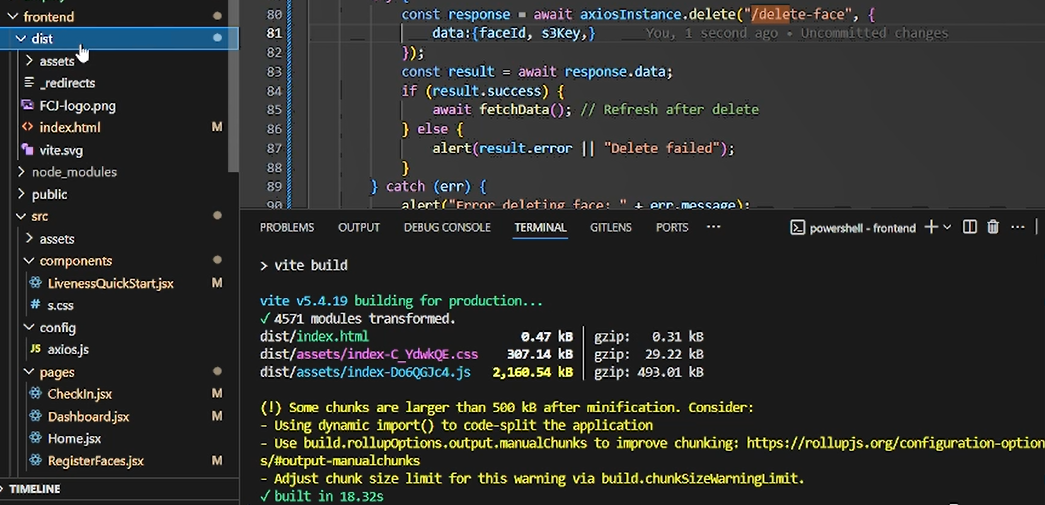
Step 4 — Build Your Frontend
From your local project:
cd frontend
npm run build
This will generate your build output in dist/ (Vite) or build/ (React).
Step 5 — Upload to S3
- Copy everything inside the
dist/folder (not the folder itself). - Go to S3 bucket → Upload.
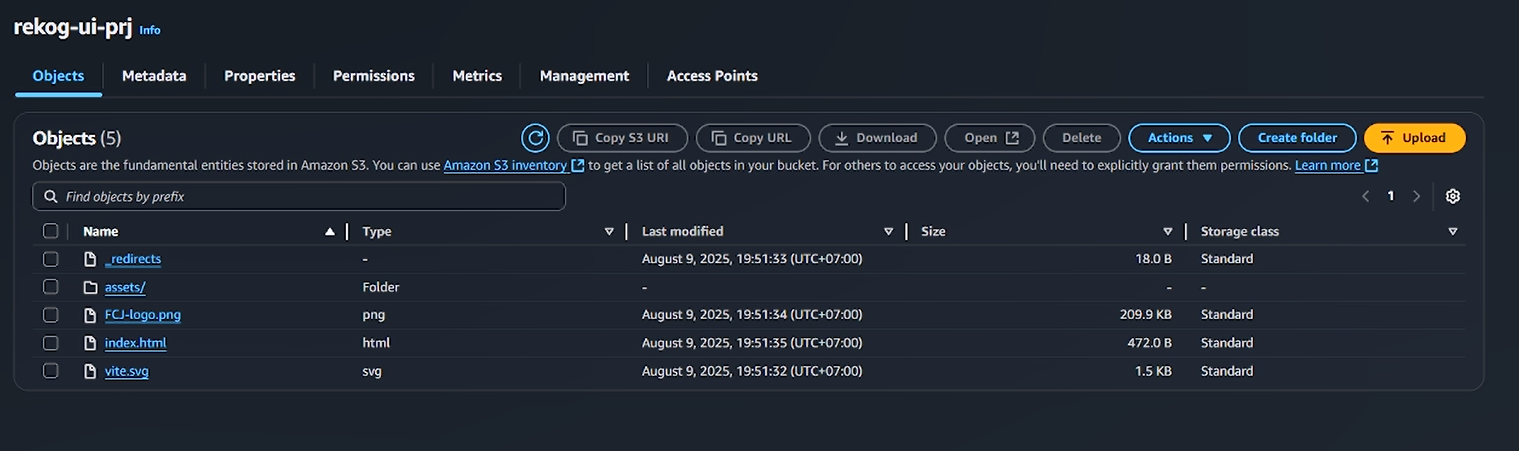
- Drag-and-drop files, leave permissions default, click Upload.
Step 6 — Wait for CloudFront Propagation
- It may take a few minutes for CloudFront to update.

- Once done, go to CloudFront → Your Distribution → Copy the Distribution Domain Name (not the ARN).
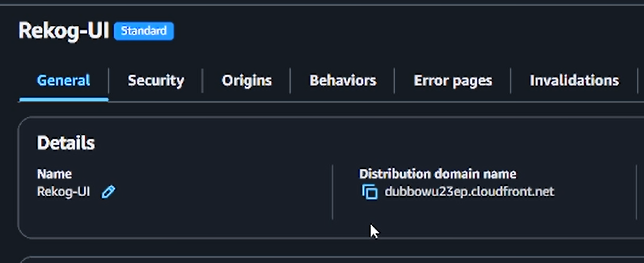
- Paste that into your browser to access your site.
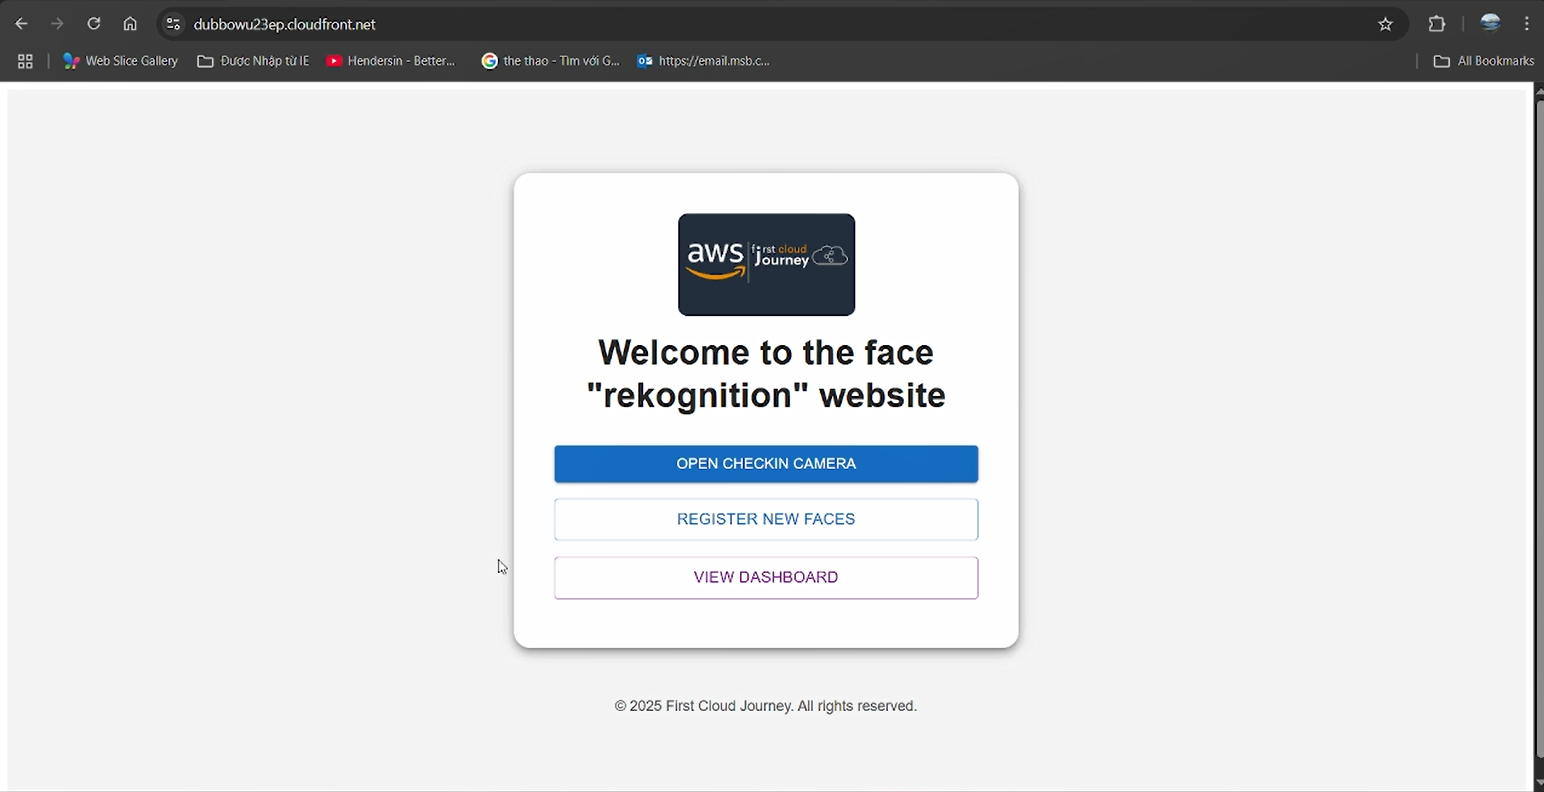
And that’s it! You’ve successfully set up a serverless frontend with Vite and deployed it to AWS using CloudFront and S3. You can now watch your site update in real-time as you make changes to your code. Happy AWS coding, and thank you so much for doing this workshop until now!